 Skip to content
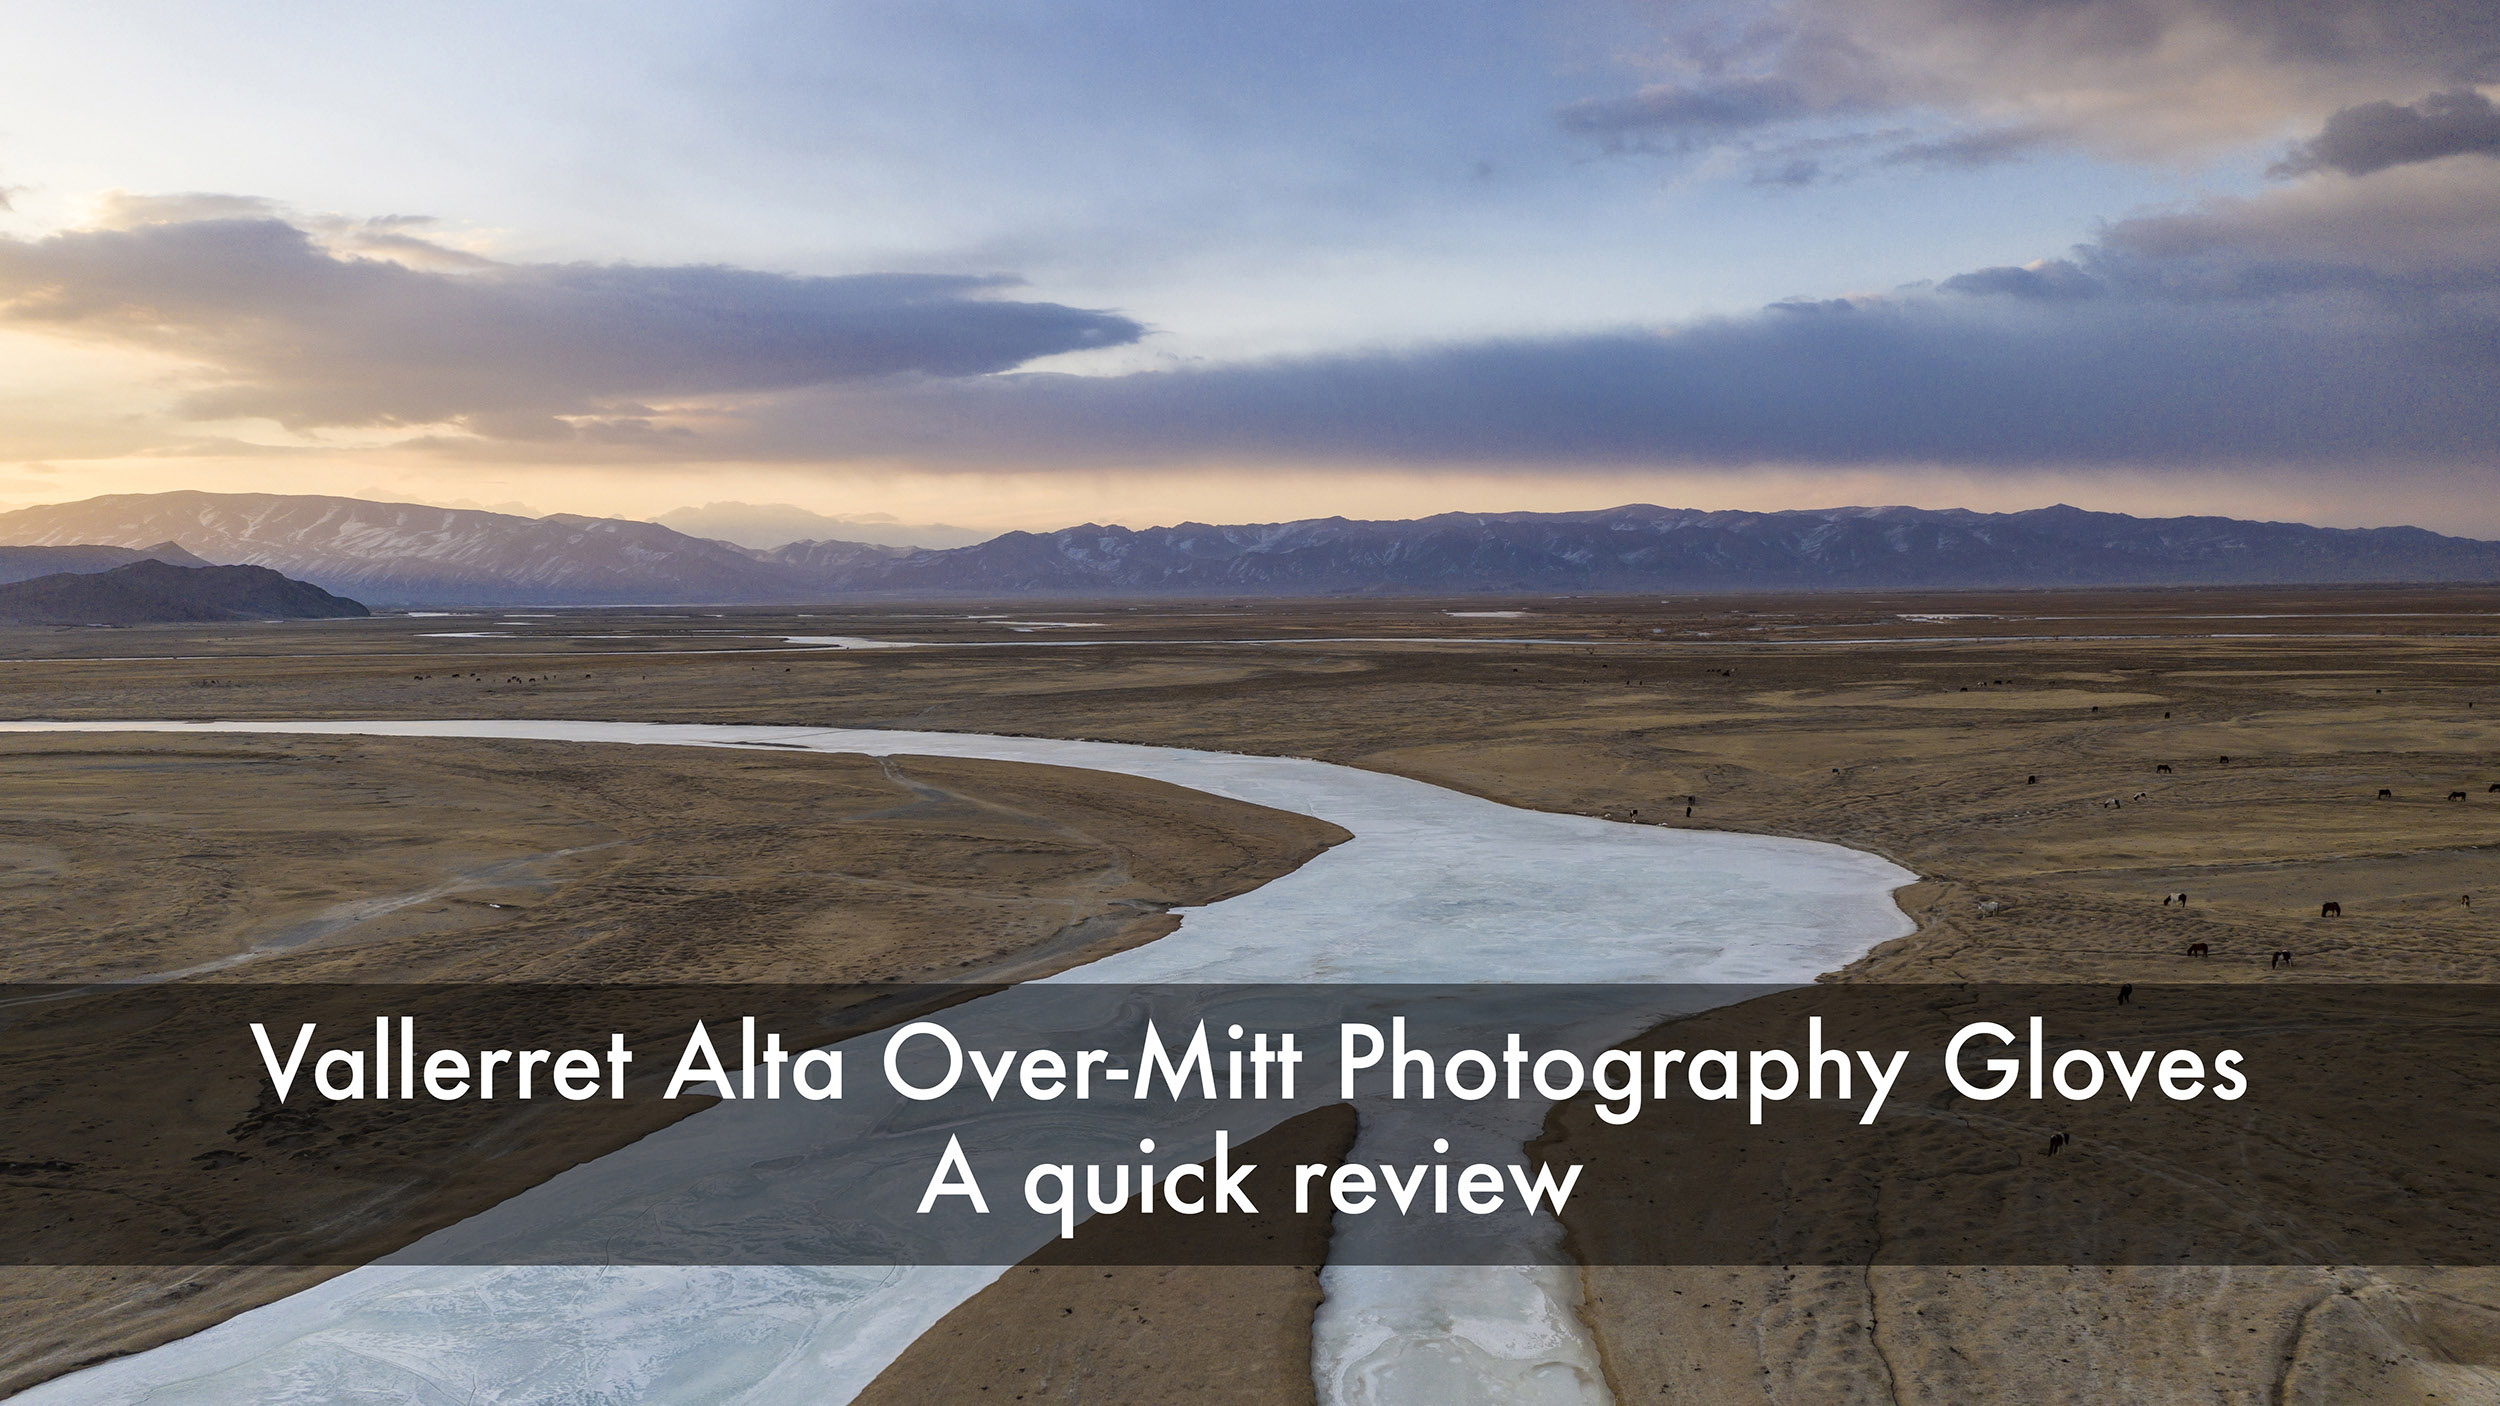

During the winter the need to protect ourselves is an obvious task. But when you’re a landscape photographer then it’s even more evident as sometimes you might be stood around waiting in the freezing cold.
One thing that photographers have always struggled with is getting a proper hold of their camera when wearing gloves. And that’s where Vallerret comes into the scene.
Made and designed by photographers this excellent company kindly furnished me with two different sets. One was the Markhof Pro II and the other is here which is the Alta Over-Mitt Photography Gloves.
The Alta Over-Mitt Photography Gloves are designed to go over the top of your gloves thus giving you another layer of protection against the cold. Evidently, it makes it a little more difficult when gripping your camera, BUT would you prefer your hands get cold?
My own experience with the Alta Over-Mitt Photography Gloves was put to test in the Alta area of Western Mongolia. In a harsh and unforgiving environment where temperatures can easily reach well below -30°c in Winter the gloves helped protect me during my visit there in March 2019.
Earlier in the year, I travelled to the Northwest Highlands of Scotland in January. Anyone who follows my work will know that winter in that part of the world can bite hard. Even when the thermometer is only around 0°C, it often feels colder than the number suggests because of the damp air and exposure.
“January in north-west Scotland can be very cold.”
On that trip, the Vallerret Markhof Pro II gloves kept my hands warm enough to work. They were a good answer for Scottish winter conditions, where cold often gets into you because it is wet, heavy, and persistent. That sort of cold has a way of creeping through clothing even when the air temperature does not look extreme on paper.
Then came a bigger test. In March, I headed to western Mongolia, to the Altai region. When people picture Mongolia, they often think of eagle hunters and high mountains. That image fits the West well, and the area also has a strong Kazakh identity. Mongolia sits at an average altitude of around 1,400 metres, but in the Altai it is closer to 1,800 metres. March might be called spring, but out there it still feels like winter.
In Mongolia, I saw temperatures of around -15°C. The cold there was drier than in western Europe, but that did not make it gentle. Once the wind started moving across the open ground, it felt every bit as harsh as the number suggested.
Trips like these are why my photography tours in Japan, Mongolia and Scotland always make me think hard about cold-weather kit. Good photography gloves are not a small comfort item. They are part of staying out long enough to make the photographs.
For winter photography, the problem is simple. Warm gloves help you stay outside, but thick gloves make it harder to use a camera. Thin gloves give you better feel, but they leave your fingers exposed once the cold deepens. That trade-off never goes away.
Because of that, I reached out to Vallerret again before Mongolia. I had seen that they made an over-mitt called the Alta Over-Mitt Photography Gloves. The idea is straightforward. You wear your normal gloves underneath, then pull the over-mitt on top when the cold becomes too much. That gives you another layer of protection without forcing you to abandon your camera gloves completely.
That made sense to me straight away. When I am standing around waiting for the weather, light, or a moment in the distance, my hands cool down fast. A normal glove can cope for a while. An over-mitt gives you more margin, and in a place like the Altai, that margin matters.
Vallerret also builds these products with photographers in mind. That sounds like a small point until you have worn general winter gloves in the field and tried to change settings. The needs are different. I do not only want warmth. I want access, speed, and a way to keep working without taking off a glove and dropping it into snow, mud, or ice.
The Vallerret Alta Over-Mitt looked large when I first handled it, and there is no point pretending otherwise. It is a proper outer layer. Still, bulk is part of the bargain with serious cold-weather gear. If the glove keeps your hands warm in conditions that would otherwise stop you shooting, the size starts to make a lot more sense.
The first thing I noticed was how solid the Vallerret Alta Over-Mitt felt. It is well-made, well-thought-out, and clearly designed for harsh conditions. These are not slim gloves that try to pass as all-purpose winter wear. They are there to protect your hands when the weather turns harsh.
That bulk does affect handling, and I think it is better to say that plainly. You are not going to get the same freedom of movement that you have with bare hands, or even with a lighter glove. Yet that is not the job of an over-mitt. Its job is to keep your extremities warm enough that you can stay outside and still work.
For me, that is the key point. In severe cold, comfort and control never balance perfectly. You are always giving up a little of one to keep enough of the other.
What makes the Vallerret Alta Over-Mitt useful rather than awkward is the access it gives you. There is a zip on the glove that lets you open it up and reach the glove underneath. That means I could get back to my Markhof Pro II and use the controls on my camera without fully exposing my hands.
There is also a peel-back section, which you can fold away and secure with a clip. That leaves your fingers freer when you need more control. It is a practical feature, and it feels like it was designed by someone who has stood outside trying to adjust a camera in bad weather.
The sequence is simple:
That does not make camera handling effortless. It still takes more time than working with lighter gloves. But in these conditions, nothing is effortless. I would much rather deal with a little extra faff than lose feeling in my fingers.
One small detail I liked was the harness. When I needed to remove the over-mitts, I could do it quickly without dropping them on the ground. They stayed attached, which meant I could get back into them as fast as I needed the warmth again.
That matters more than it might sound. In snow, mud, or high wind, dropped gloves are a nuisance at best. In deep cold, they can become a real problem. The harness keeps the workflow tidy and practical, especially when you are switching between shooting and warming up your hands.
Sizing was also straightforward. My Markhof Pro II gloves are a medium, and the advice was to order the Vallerret Alta Over-Mitt in the same size. That worked for me. The over-mitts slipped on and off easily over the gloves underneath, which is exactly what I wanted.
A complicated fit would have spoiled the whole idea. Instead, the system felt simple, and that is what I want when I am tired, cold, and trying to keep my focus on the photograph rather than on my kit.
I did not film myself using these gloves while I was in Mongolia. I wanted to live with them properly first and see how they performed over the trip. That felt more honest than giving a quick first impression before I had tested them in real conditions.
After using them in the Altai, my answer was clear. Yes, they do the job.
At around -15°C, with wind in the mix, the Vallerret Alta Over-Mitt gave me the extra protection I needed. My hands stayed warm enough to keep working, and that is the whole point. In a place like western Mongolia, where the environment is harsh and open, losing warmth in your hands can end a session fast.
The cold there felt different from Scotland. It was drier, but the dryness did not make it easy. Wind cut through the comfort quickly, and the extra layer of the over-mitt helped hold that warmth where a single glove would have struggled more.
My experience came down to three things:
That balance is why I would recommend them. They are not magic gloves that make sub-zero photography feel normal. No glove can do that. But they solve a real problem in a practical way.
Later, when I spoke about them from the Fuji Five Lakes area in Japan, there was still snow around in mid-April, and the air felt cold enough to remind me why these products matter. Harsh weather does not always mean the far north or deep winter. Sometimes you only need to be standing still long enough for the cold to start taking over.
For the kind of work I do, the answer is yes. I would recommend the Vallerret Alta Over-Mitt Photography Gloves to photographers who spend time in harsh winter conditions and need more protection than a standard pair of gloves can give.
Their biggest strength is simple. They keep your hands warmer without cutting you off from your camera completely. That is the problem they claim to solve, and in my experience, they solve it well.
There is a trade-off, and it is worth being clear about it. They are bulky. Fine control is slower. If you want the feel of bare fingers, you will not get it here. But if the choice is between a bit of awkwardness and painfully cold hands, I know which one I am choosing.
I also liked that they worked as part of a system. Worn over my Markhof Pro II gloves, they added protection without making the whole setup complicated. The sizing worked, the harness helped, and the access points were useful in the field.
So if your photography takes you into freezing places, and especially if you spend long periods waiting for the light, these are a solid answer. For mild cold, they may be more glove than you need. For proper winter work, they make sense.
The strongest thing I can say about the Vallerret Alta Over-Mitt is that I trusted it in western Mongolia, and it earned that trust. In severe cold, warm hands matter more than perfect dexterity, because cold fingers stop you working at all.
That is why the Vallerret Alta Over-Mitt left a good impression on me. They are bulky, but they are meant to be. They gave me extra protection when a normal glove was no longer enough.
When winter photography turns from brisk to brutal, this kind of kit stops being optional. It becomes part of staying outside long enough to make the image.
The trip opened with the sort of weather that can wear you down before you’ve even found a composition. Most of the day was wet, and not in a dramatic, storm-chasing way either. It was the steady, persistent kind of rain that keeps everything slick and grey. By late in the day, though, the weather finally eased and the coast opened up in front of me.
I was standing above the Atlantic on the Wild Atlantic Way, with David working farther along the headland while I searched for a different angle. That was part of the point of the week. We weren’t only making pictures for ourselves, we were trying to work out how a future workshop could offer variety, choice and room for different ways of seeing.
The sky wasn’t doing much, so I left it out. Instead, I focused on the water and a sea stack below. In poor light, that often feels like the honest choice. A blank sky rarely helps a photograph, whereas good texture and movement in the sea can still carry the frame.
The setup mattered because the ground was awkward and the drop below was severe. I levelled the tripod base carefully on the slope so the weight stayed centred. On a cliff edge, that isn’t fussiness, it’s common sense.
On uneven coastal ground, a level tripod is as much about safety as it is about composition.
My camera for that shot was a Canon 6D with a 28-70mm lens. I used a polariser to cut reflections from the waves, then added a 2-stop ND filter to lengthen the exposure. I was working at around six to seven seconds, which is a range I often like on the coast. It keeps movement in the water without turning the sea into featureless mist.
The second evening brought better light and a much stronger sense of place. We had found the location the day before during a recce, then returned when the conditions looked promising. With the sun dropping and the coast lit from the side, the grasses in front of me glowed while the bay and mountains beyond started to come together.
This stretch of coast reminded me of parts of Skye, especially around Elgol. It had that same mix of broken shoreline, dark water and distant shape, although it still felt like Donegal in its own way. The bay cut in nicely, the grasses gave me a lead-in, and the light had enough warmth to lift the whole scene.
Even then, the composition wasn’t straightforward. If I went too wide, too much of the bay crept in and weakened the frame. It looked untidy rather than expansive. I spent a fair bit of time shifting position and trying to simplify what was in front of me.
To tighten the view, I tried my tilt-shift lens with a 1.4x extender. I wanted more control over what stayed in and what dropped out. The wind was blustery as well, which made tripod height part of the decision. I wanted the camera closer to head height, because that matched how I was seeing the scene, but in those gusts I preferred to keep things lower and steadier.
The exposure was around a second. That gave me a small amount of movement in the grass without losing all the structure. I liked that compromise. Too fast and the foreground felt static. Too long and the grass lost shape.
That evening reminded me how often the best coastal photographs come from wrestling with the frame rather than spotting it at once. A good location does not remove the hard work. It simply gives that hard work a chance to pay off.
Later, I moved farther up the coast and found a different position above a wave-cut platform. The rock underfoot looked brittle, so I took care with every step. Down below, waves were washing over the platform and then draining away, briefly revealing its shape. That movement gave me a new way into the composition.
I turned the camera into portrait format and used the platform edge to guide the eye out towards the coastline beyond. Once again, I levelled the tripod, not because I planned to stitch a panorama, but because I wanted the balance of the setup to stay sound on awkward ground.
A polariser stayed on the lens because the angle of light was putting a sheen on the water. By taking some of that glare away, I could hold more texture in the scene. As the light faded, exposures started stretching out. Even so, I still preferred the coast at around five to seven seconds.
For me, the sea stops looking like the sea once the shutter stays open too long. Water has weight and force, and I don’t want to scrub all of that away.
By day three I had moved up to the north coast and reached Fanad Head Lighthouse, one of Donegal’s best-known locations. The sun had already dipped below the horizon, leaving a strip of soft purple and pink in the sky. There was still enough colour to keep the scene alive, even though the direct light on the lighthouse had gone.
I had already made some photographs with the waves below, but I stopped when the water became too smooth for my taste. Long exposures can suit some places, yet I often find that open sea loses its character when it turns into flat mist. At Fanad Head, I wanted to keep some of the coast’s energy intact.
So I moved higher and used the rock in front of me as foreground interest. It had the feel of a limestone pavement, or close to it, and it gave the frame a strong base. That rough texture helped pull the eye towards the lighthouse and out to the last colour in the sky.
The place is popular for obvious reasons. You get a strong subject, dramatic cliffs and a broad view over the Atlantic. On a tour, places like this matter. I don’t think a workshop should only chase hidden corners. Well-known locations deserve their place too, as long as they are mixed with less obvious ones that give people something more personal.
At Fanad Head, that balance made sense to me. It was one of the clearest signs that the trip was working.
One afternoon we found a small cove that felt too good to rush. It was around five o’clock, the light still had time to improve, and there was no one else around. We decided to stay there for the rest of the evening rather than keep driving.
David headed off higher onto the cliffs while I stayed lower and started experimenting. The light was not spectacular at first, so I borrowed his Lee Little Stopper and tried a few longer exposures. That isn’t normally how I approach most coastal scenes, but on a recce I wanted to test different options, especially ones that could work well on a workshop.
I didn’t want to give away the exact location, partly because we were still building the trip and partly because some places are better left half-discovered. What I can say is that the geology was brilliant. The rock shapes, layers and edges gave the cove a lot of character, and the views from the cliffs to my right looked every bit as strong as what was directly in front of me.
We had a forecast for broken cloud, so there was still hope for a decent sunset. That kept us there for hours. Sometimes the best decision on a coast road is to stop moving and trust the place you’re in.
Long exposures were part of that evening, but they were not the whole point. I was trying to see how flexible the location was. Could it work in flat light, in mixed cloud, in stronger colour, with detail shots and wider frames? Those are the questions that matter when I’m planning a trip for other photographers.
My final full day in Donegal started badly and ended well. We were up at half past four in the morning to reach a sea arch for dawn, only to find private property signs and confusion over access. After asking around, local people confirmed there was a right of way, but by then we had lost about two hours.
The dawn itself was decent enough, with some interest in the sky, but the delay took the edge off the morning. That sort of thing is part of a proper recce. It is not only about finding good views, it is also about learning the awkward details that can ruin a shooting plan if you don’t know them in advance.
Later in the day, after more time spent following the Wild Atlantic Way and checking the coast, I reached a viewpoint packed with sea stacks. The scene was superb, but it came with the usual problem of abundance. When there is too much in front of you, the job is to organise it.
These were the choices I kept working through:
The sun was hidden behind cloud behind me, which was frustrating, because a short burst of light would have transformed the scene. Still, even without it, the coastline had shape and drama. I kept shooting because it was my final evening and because scenes like that often reveal their best arrangement only after a long period of trial and error.
That last session summed up the week well. Donegal kept giving me more than I could use at first glance, and the work was in turning that raw material into something clear.
The places changed each day, but a few pieces of kit and a few working habits stayed constant throughout the week. I kept returning to the same tools because they suited the coast and the kind of pictures I wanted to make.
The main setup included:
What mattered even more than the kit was how I used it. I kept the tripod level on rough ground, watched the sea before releasing the shutter, and resisted exposures that felt too long for moving water. For most of this trip, I liked the coast best at around five to seven seconds. That gave me movement without draining the scene of its force.
By the end of the week, the shape of the trip was becoming clear. David Speight and I had gone over to Donegal to search out locations for a joint workshop, and the county made a strong case for itself. The coast is the obvious draw, and rightly so, but the real appeal is the range within it. You can move from famous viewpoints to quiet coves, from lighthouses to sea stacks, from broad bays to intimate studies of rock and water.
We were looking at running the workshop in 2018, most likely in April or September. Those months made sense for light, weather and the general feel of the place. Fanad Head would almost certainly be part of it because it is too good to ignore. At the same time, many of the less obvious locations we found during the week were just as important. They would give people a fuller sense of Donegal, not only the postcard view.
That mix is what I wanted from the trip. I never wanted a workshop built only on famous pins on a map. I wanted places that offered mood, variety and room for personal work.
Once I left Donegal, my attention shifted quickly to other work. I had an editorial piece coming up around the Paris-Tours cycle race on Sunday 8 October 2017. I had accreditation to photograph it, although filming the race itself was restricted, so the plan was to cover my preparation, my approach and the results rather than the full event live.
Not long after that, I had the Dolomites on the horizon. That trip promised mountains, vineyards and, if the weather helped, a touch of snow. I was also taking my wife with me, which would add a different feel to the journey after a week of recce work on the Irish coast.
Donegal, though, stayed in my mind. It had a way of doing that.
What I remember most is not one single frame. I remember the feeling of working hard for each picture, waiting out rain, reading the sea, shifting a tripod on rough ground and trying to make sense of a coast that never looked simple.
That is why the week mattered. Donegal did not hand me photographs. It asked for patience, care and judgement, and that is often where the best travel and landscape work begins.