 Skip to content
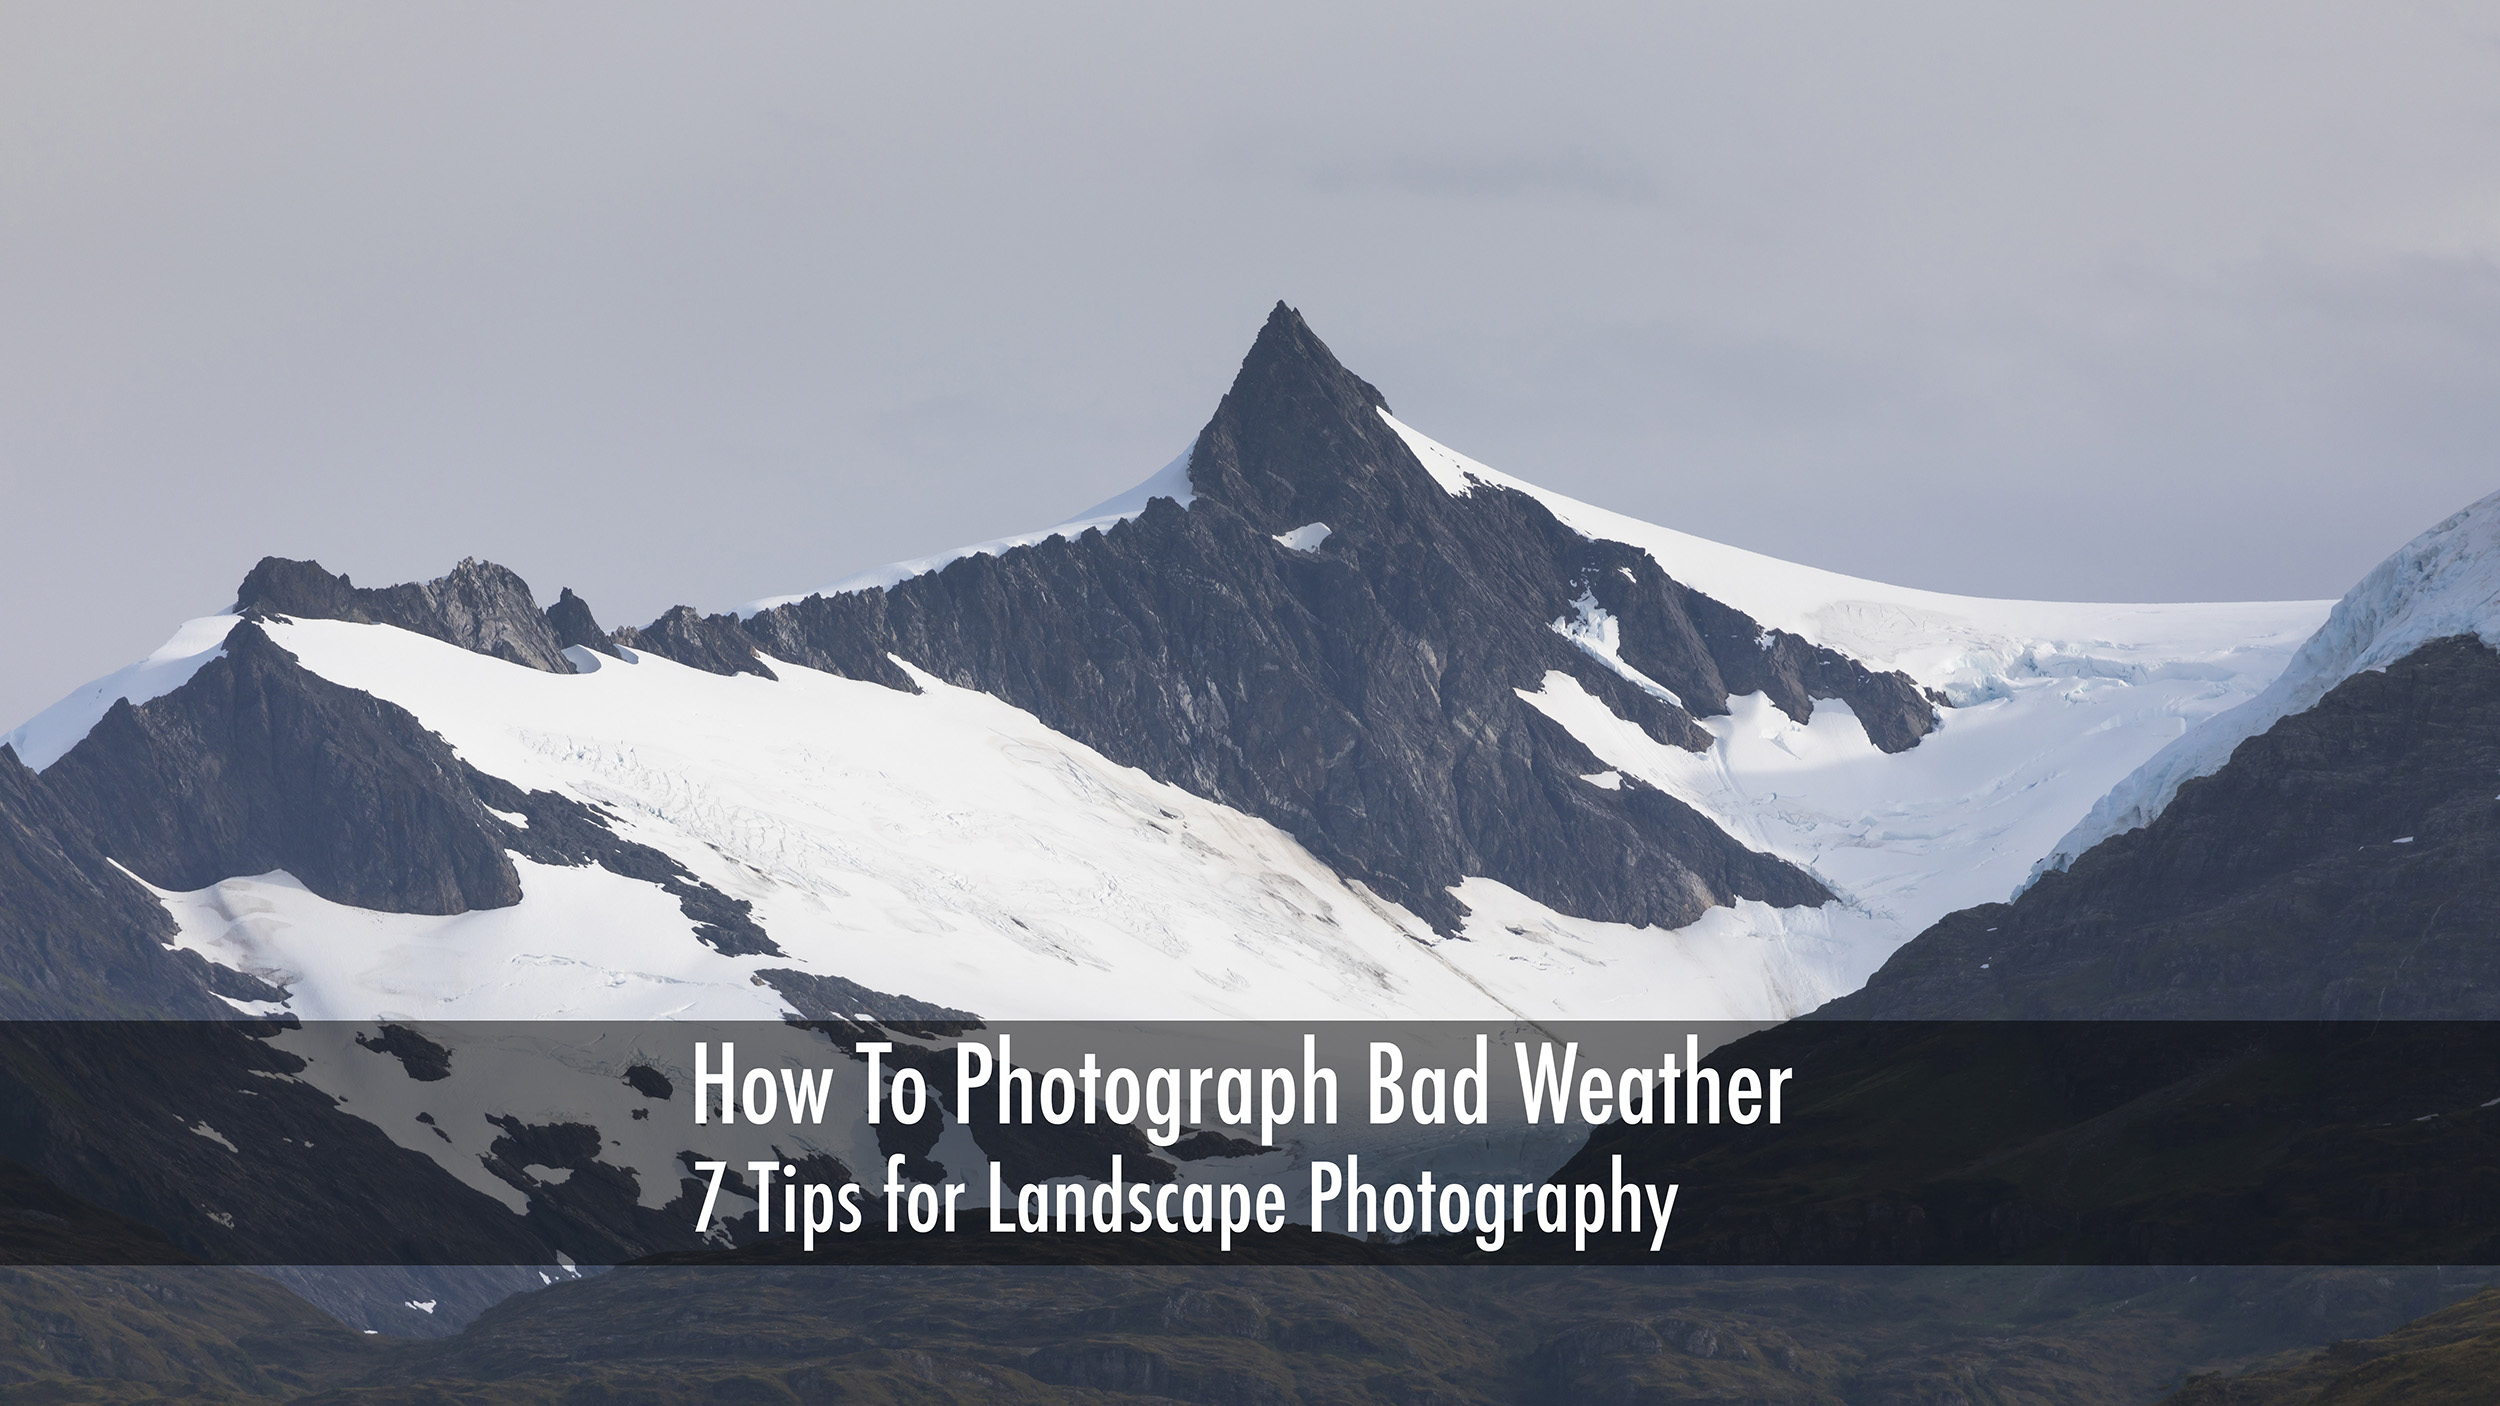

How to Photograph Bad Weather: 7 Tips for Landscape Photography is my latest YouTube video and gives you some ideas to think about.
The weather has been pretty bad of late, and so I thought that it may as well be embraced and provide some content for my channel.
When I talk about how to photograph bad weather, I don’t mean standing in a storm for the sake of it. I mean, reading the conditions and using them well. A damp, brooding day can turn an ordinary scene into something far more interesting.
That old cemetery in central France is a good example. In bright sunshine, it would still have been worth a look. Under heavy cloud, with rain moving through and the ruined church sitting against a dark sky, it had far more presence. The weather gave the place its tone.
I find this is often true across France and beyond. Old churches, village cemeteries, mountain roads, coastal cliffs and ruined buildings all gain something when the air feels unsettled. The light becomes less obvious. Shadows soften. Then, every now and again, the sun breaks through a gap in the cloud and lights the subject for a few seconds. Those short moments can make the whole trip.
Bad weather is only a problem if I fight it. Once I work with it, it becomes part of the picture.
With that in mind, these are the seven things I pay attention to whenever I head out with rain in the forecast.
This sounds obvious, but I still think it’s the first thing to sort out. If you’re going to learn how to photograph bad weather, take an umbrella. It saves trouble, keeps you out for longer and gives you one more layer of protection when the rain arrives.
On this shoot, my umbrella was in the car, which was only about a 30-second walk away. It wasn’t raining when I started filming, but it had been hammering down on the drive over, so I knew another shower was likely. Having a brolly close by meant I could keep working instead of rushing back the second the rain returned.
An umbrella also buys me time. I can check composition, adjust the tripod, wipe the lens and wait for a break in the weather without getting soaked. On days when the showers come and go, that’s often enough to keep the session moving.
I never treat an umbrella as the full answer, because wind can make it awkward, but it’s still one of the simplest things I carry.
The next thing you think about when learning how to photograph bad weather is gear. A camera bag with a rain cover helps, but it doesn’t solve everything. What matters is what happens once the camera comes out of the bag.
My Canon 5D Mark IV is weather-sealed, and most of the lenses I carry cope well in poor conditions. That gives me some confidence when the weather turns. Even so, I don’t assume every lens will behave the same way.
My tilt-shift lenses are the weak point. The Canon 24mm TS-E Mark II L, for example, has moving parts for tilt and shift, so it isn’t sealed in the same way. Once a lens is designed to move in that way, there are more places for moisture to get in. That’s worth remembering if you use specialist glass.
I also carry a simple rain cover. Mine is an old one from OpTech USA. It cost about £5 to £10 when I bought it years ago, and it works like a large plastic sleeve that fits over the camera. It isn’t fancy, but it does the job.
When I don’t have that to hand, I improvise. Years ago, in the Highlands of Scotland, I was shooting in Glen Shiel between rain showers. I had an old cool bag in the car, so I put that over the camera for full cover while the rain passed. When the shower eased, I lifted it off and made a moody photograph looking down the glen. That sort of simple fix can be enough.
A plastic bag can help as well. Pair that with an umbrella over the top, and the camera has a decent chance of staying dry.
A solid tripod matters more when learning how to photograph bad weather. In calm conditions, you can get away with more. In wind and rain, weak support quickly becomes the reason a good frame turns soft.
I’ve worked in all sorts of conditions, and I don’t always use a tripod. Still, a lot of the time I do, because I want the camera to stay put while I wait for the right light or clean rain-free moments between wipes of the lens.
A flimsy tripod struggles the moment the gusts arrive. A stronger one gives me a far better chance of making a sharp picture. I use a Benro TMA38CL Carbon Fibre Tripod, and that extra stability is worth carrying.
When the wind is pushing hard, I also try to lower the centre of gravity. At times, I put a hand on the top of the camera and press down slightly to settle the setup. That bit of added control can help stop vibration.
Poor weather often means slower working. A good tripod lets you work at that pace instead of fighting the kit.
A microfibre cloth earns its place every time the weather turns damp. Even if it’s not pouring, a few stray drops on the front element can ruin an image.
I picked up a couple of microfibre cloths from Vision Plus in Saint-Cyr-sur-Loire, and I keep them in the camera bag all the time. They are small, light and easy to forget until I need one. Once the rain starts, they become one of the most useful things I carry.
There is one catch. They soak through fast. If the rain is heavy, the cloth will soon be too wet to do much good, so I don’t kid myself that it solves a downpour. What it does do well is clear the specks and smears that build up during light rain or drifting spray.
That small bit of maintenance is often the difference between a clean file and a frame with soft blobs across the sky.
Some places come alive in poor weather. Others fall flat. That’s why subject choice matters so much when learning how to photograph bad weather.
Coastlines are often excellent in bad weather, as long as you stay aware of safety. A rough sea, dark sky and moving spray can add a lot of force to the frame. A few years back, I made some photographs on the Dorset coast around Bat’s Head and near Durdle Door in unsettled weather. I shot some of them at around ISO 1600 to bring in a bit of grain and atmosphere. Looking back, I sometimes think I might have preferred a lower ISO, but I still like the mood those files carry.
Cemeteries and ruins also work well. The old cemetery and ruined church in central France suited the conditions perfectly. In the UK, I also think the cemetery in the village near Corfe Castle is worth visiting. I don’t mean the popular hill view looking over the castle. I mean the graveyard in the village, where the setting feels more enclosed and more sombre, with the castle sitting behind it.
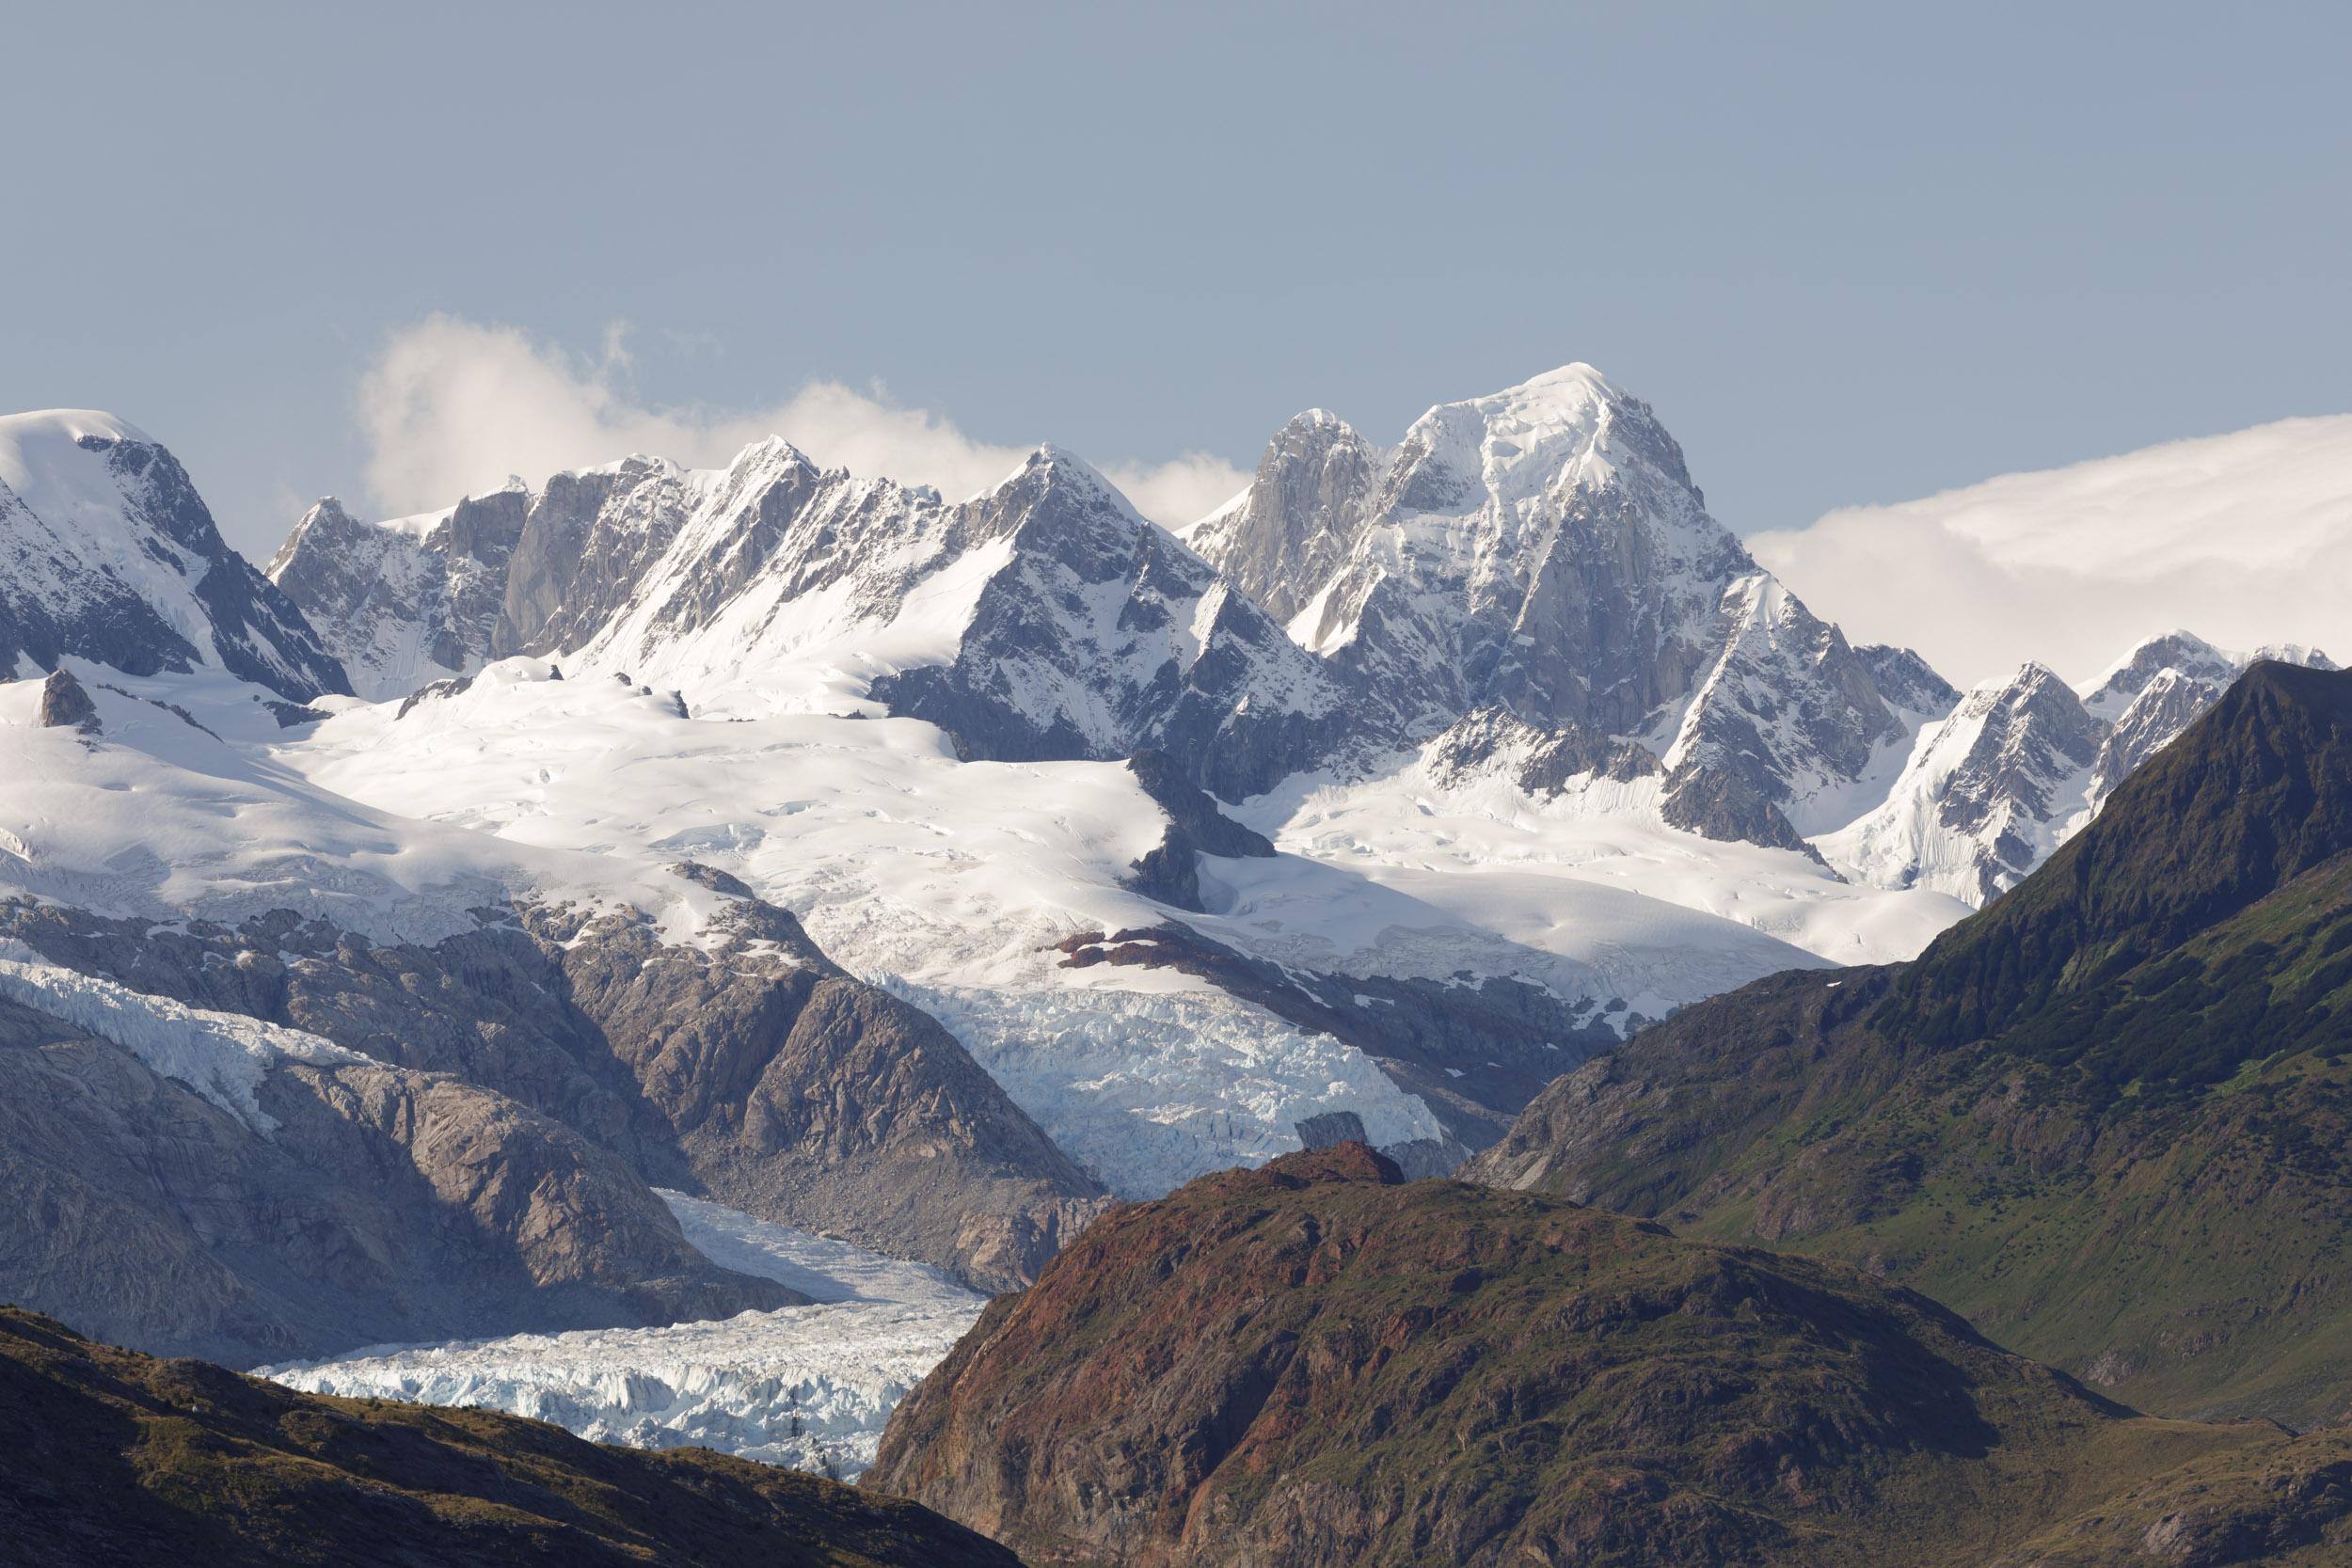
Mountains can be superb too. They don’t need bright sun all day. In Patagonia, I had weather that was far from perfect, yet the cloud and shifting light made the mountain scenes look far better than a flat blue sky would have done.
When I’m deciding where to go, I ask one simple thing. Will this place gain something from cloud, rain or gloom? If the answer is yes, I will go.
This point is easy to miss, but it makes a huge difference when learning how to photograph bad weather. Before leaving the car, check which way the rain is moving.
The reason is simple. If your subject is in front of you and the rain is blowing straight into the lens, the camera is going to get soaked. You can still try to work, but it becomes hard to keep the front element clear, and the whole session turns into a battle.
If the subject is in the same place but the rain is coming from behind, life is much easier. The camera stays drier, the lens needs less wiping, and you spend more time composing than rescuing the kit.
A strong subject doesn’t help much if the weather is hitting it from the wrong angle. So look at the forecast, watch the movement of the shower and then decide where to stand. That small shift in position can save the shot.
Cloud is one of the main reasons I go out in bad weather. But not all cloud works the same way.
What I want is form and shape. I like broken cloud, layers, texture and gaps where light can break through. A flat grey ceiling does nothing for me. It drains the scene of life and gives the sky no role in the frame.
When I looked at the ruined church behind me in central France, the thing that made me leave the house was the cloud structure. I could see there was shape in the sky, so I got there as quickly as I could. That sort of sky gives me something to work with.
The best moments come when the sun punches through a break and lights the subject for a few seconds. I’ve seen this in Patagonia on the boat down the Beagle Channel towards Glacier Alley. The mountains were wrapped in heavy weather, but there was a gap in the cloud and a shaft of light landed on the slopes. That light, mixed with the cloud above, made the picture.
I don’t need clean weather for that. I need weather with interest. Once I have that, the whole scene starts to feel alive.
I don’t think bad-weather photography is about buying endless kit, but a few pieces do make life easier. A weather-sealed body helps. A dependable tripod helps even more once the wind arrives. Then there are the small things, such as an umbrella, a rain cover and a dry microfibre cloth, that keep the camera usable when the conditions turn awkward.
My setup for this kind of work is built around the Canon 5D Mark IV, weather-resistant lenses where possible, and that sturdy Benro TMA38CL Carbon Fibre Tripod. When I use tilt-shift lenses, I stay more cautious because I know they are less protected. That doesn’t stop me using them, but it changes how exposed I’m willing to let them get.
If you want to keep up with more of my photography, I also share work and updates on Instagram and on my YouTube channel.
The days that look poor from the window can often turn out to be the most rewarding. Rain, wind and broken cloud can give a scene weight and mood that bright weather can’t match.
For me, the strongest lesson is simple. Bad weather works best when I match it to the right subject. Once I protect the camera, watch the rain direction and wait for structure in the sky, I stop fighting the forecast and start using it.