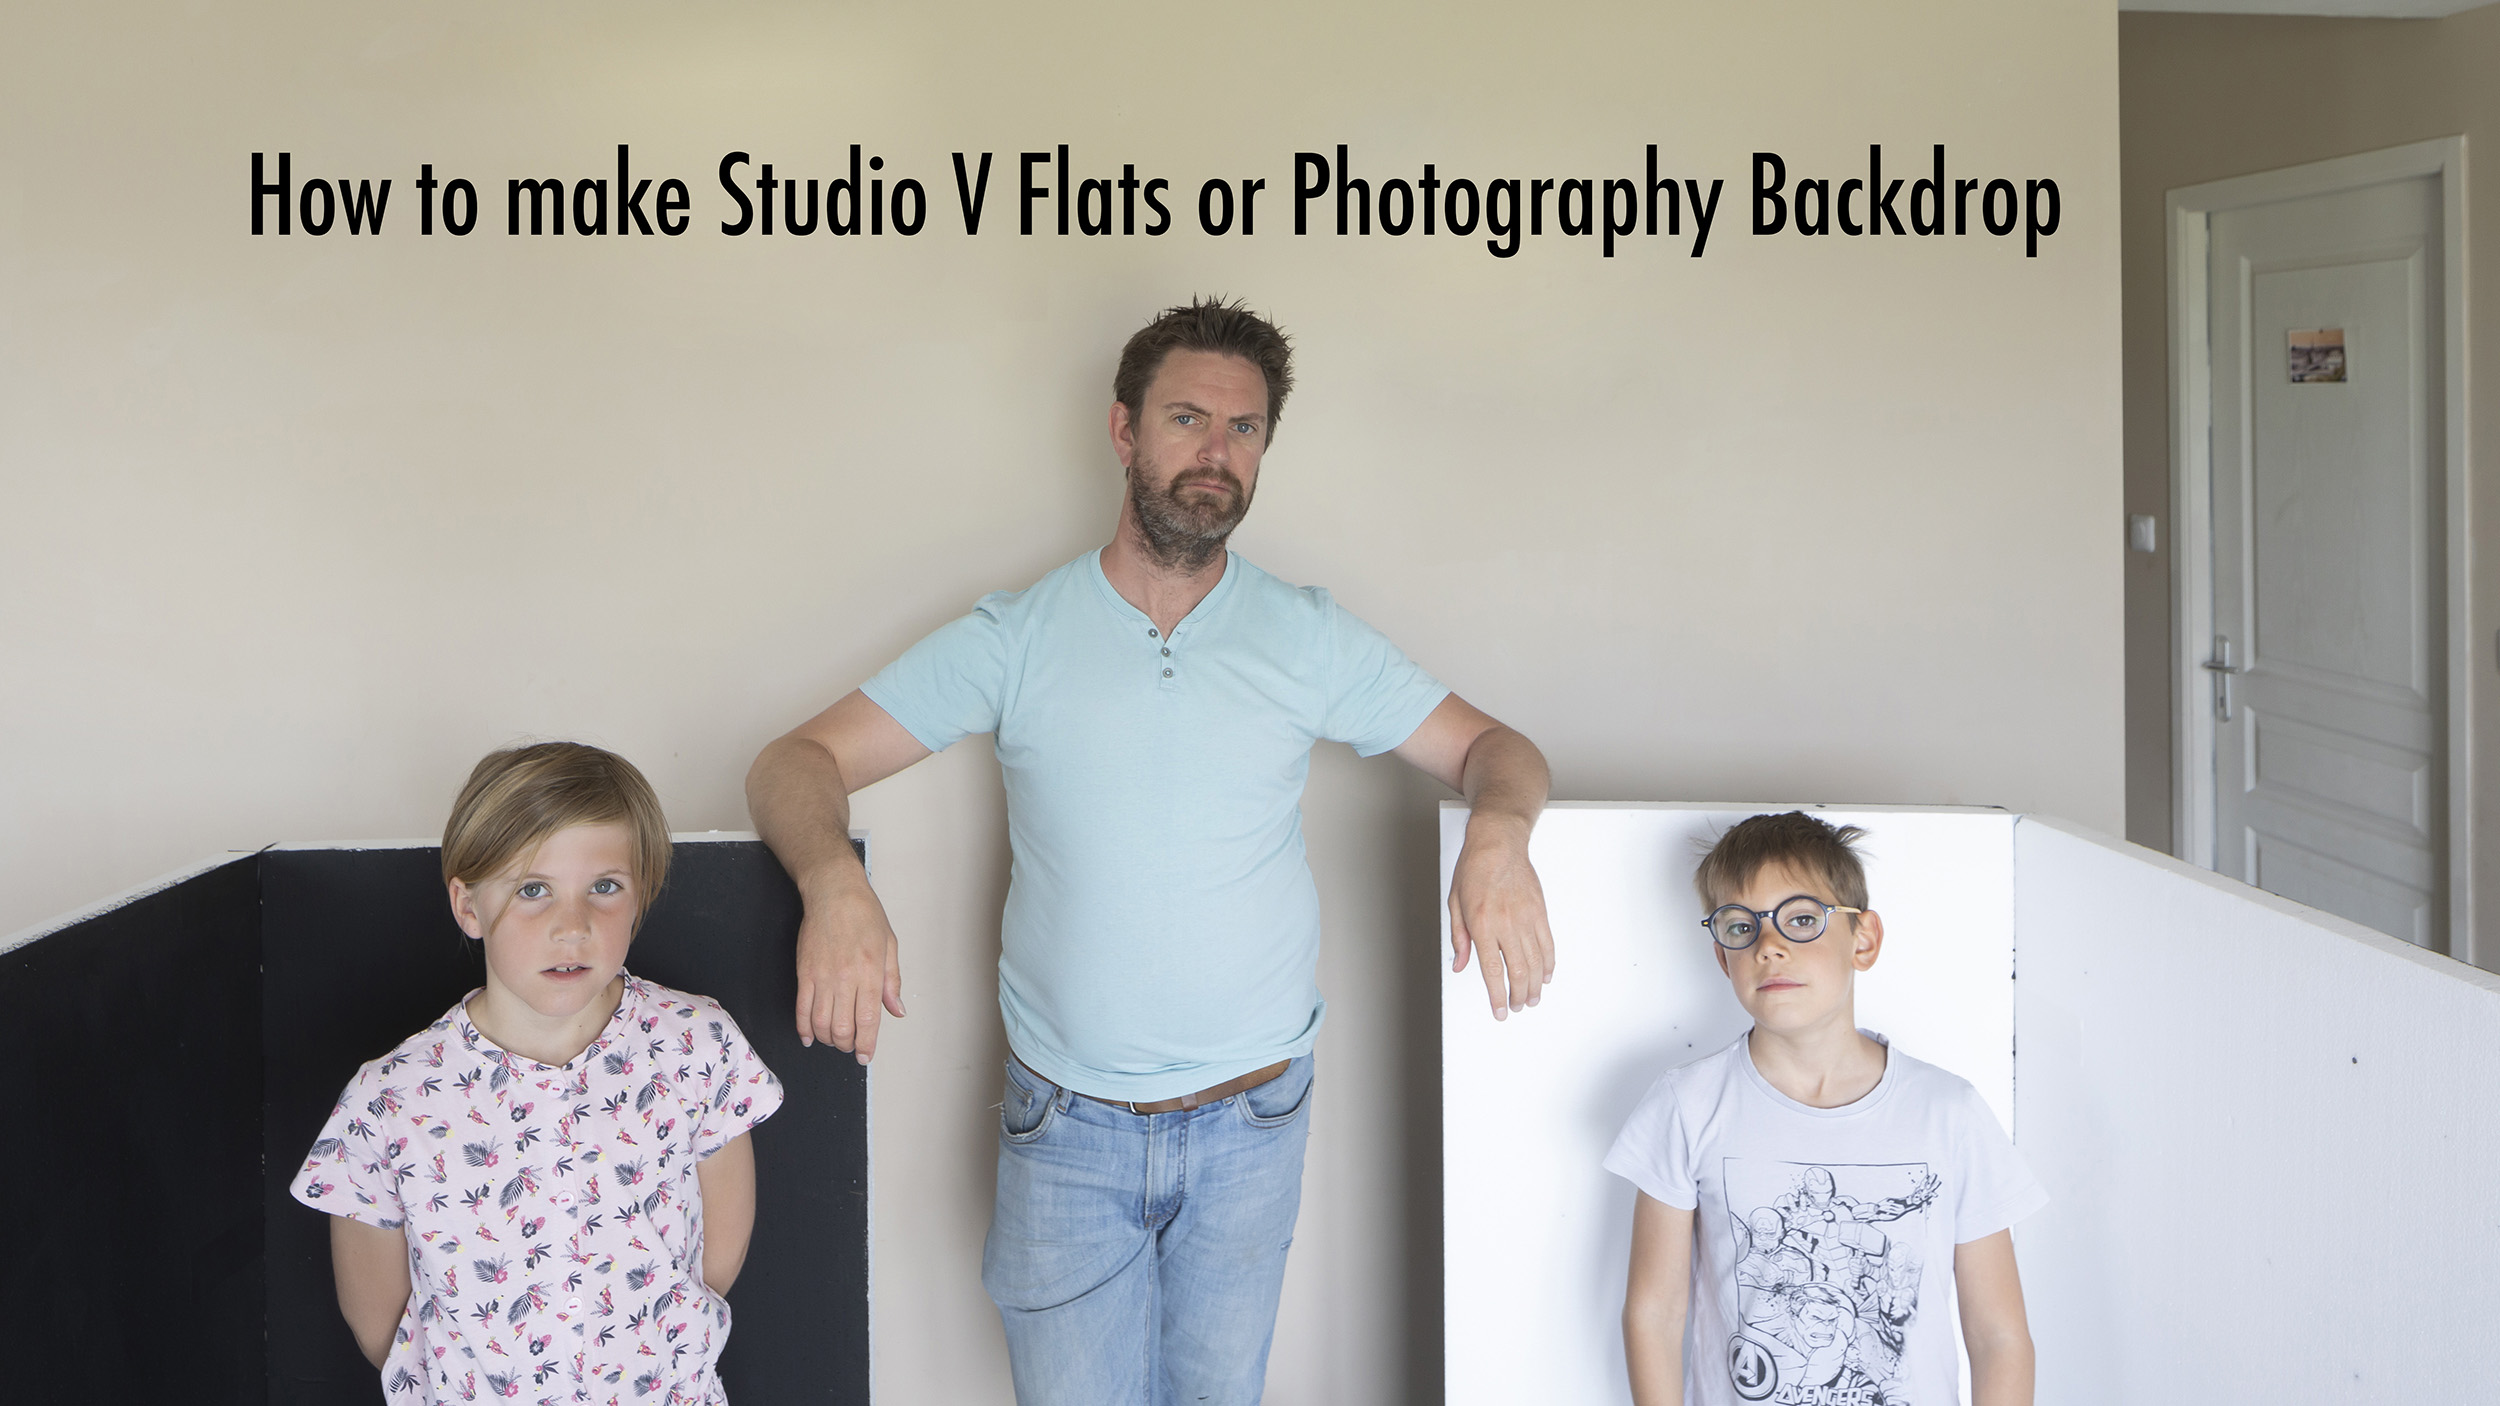

Do you need to know how to make studio V-flats or photography backdrops on a budget? Check out my latest vlog.
Although ordinarily, I am not a photographer who spends his time in the studio, I do enjoy this type of photography. It’s going to be explored a little more over the coming months due to some work that is coming my way.
As photographers, we should always be looking to expand our craft and knowledge. We shouldn’t stick exclusively to one thing, as it leads to stagnation.
My YouTube channel is dedicated to all things landscape and travel photography, so if that’s your thing, then I’d love to have you come along for the ride.
And I offer photography tours and workshops in a variety of destinations around the world. If you’re interested in learning more from me to help you get the best out of your photography, then get in touch.
Looking to improve your photography setup without breaking the bank? Learning how to make studio V-flats is a smart way to get professional-looking lighting control at a fraction of the cost. V-flats are simple panels used in photography studios to block or reflect light, making your images look more polished. Plus, they give you the freedom to customise your studio space. In this guide, you’ll find all the tools, materials, and steps needed to craft your own v-flats at home.
V-flats are lightweight panels that can serve as light absorbers or reflectors. One side is painted black to soak up unwanted light, reducing glare and harsh shadows. The other side is white, bouncing light back onto your subject for a softer, even glow. They’re making a big difference in controlling lighting setups because you can use them to shape your scene just how you want it.
This dual function makes them versatile for many photography styles, from portraits to product shots.
Adding v-flats to your studio can:
Start by measuring your foam panels to your desired size—most often 60cm x 120cm works well. Use the ruler to mark these dimensions clearly. Cut along the lines carefully with scissors or a utility knife. Remember, precise cuts make assembly much easier.
This is the trickiest part but worth it. Cut 15cm strips of gaffer tape—both black and white. For each hinge, you’ll need two pieces: one black and one white.
Attach the hinges to the foam panels by sticking the tape along the sides where you want the panel to fold. Ensure the alternating black and white pattern is consistent for proper flexibility. For larger v-flats, multiple hinges can be added for added stability.
If you want the panels to stay sturdy yet portable, insert dowels through pre-drilled holes on the hinges. Drill into the foam carefully to avoid cracks. Insert the dowels to connect panels, making it easy to fold or unfold your v-flats.
Paint one side of each foam panel black using your brushes. This absorbs stray light and improves control. Leave the other side white for reflecting light. Let the paint dry thoroughly before use—this keeps your finished v-flats clean and professional-looking.
Using multiple hinges makes your v-flats more stable, especially if you make larger panels. For extra convenience, attach handle grips or lightweight supports at the base to keep them steady during shoots.
When not in use, store v-flats upright in a cool, dry place to prevent warping. Clean painted sides gently with a damp cloth—avoid abrasive scrubbers.
All told, you can build a pair of v-flats for roughly €35-€40. Expect this project to take 2-3 hours, especially if you work carefully and have help.
Many home photographers have transformed small spaces into quality studios using DIY v-flats. They’re great for portrait lighting, product shots, or even controlling sound reflections in video recordings. Some users add wheels for mobility or build larger panels for more coverage. The beauty of DIY is customizing every aspect to your space and style.
Learning how to make studio V-flats is a simple, cost-effective way to elevate your photography. They give you control over light and shadow, opening new creative possibilities. Plus, the satisfaction of building something with your own hands adds a personal touch to your studio. Whether you’re a hobbyist or just starting out, these DIY V-flats can be a game changer.
Start your project today—grab your tools, craft your panels, and watch your images improve. For more tips and tutorials, subscribe and stay tuned for fresh ideas to upgrade your studio setup.