 Skip to content
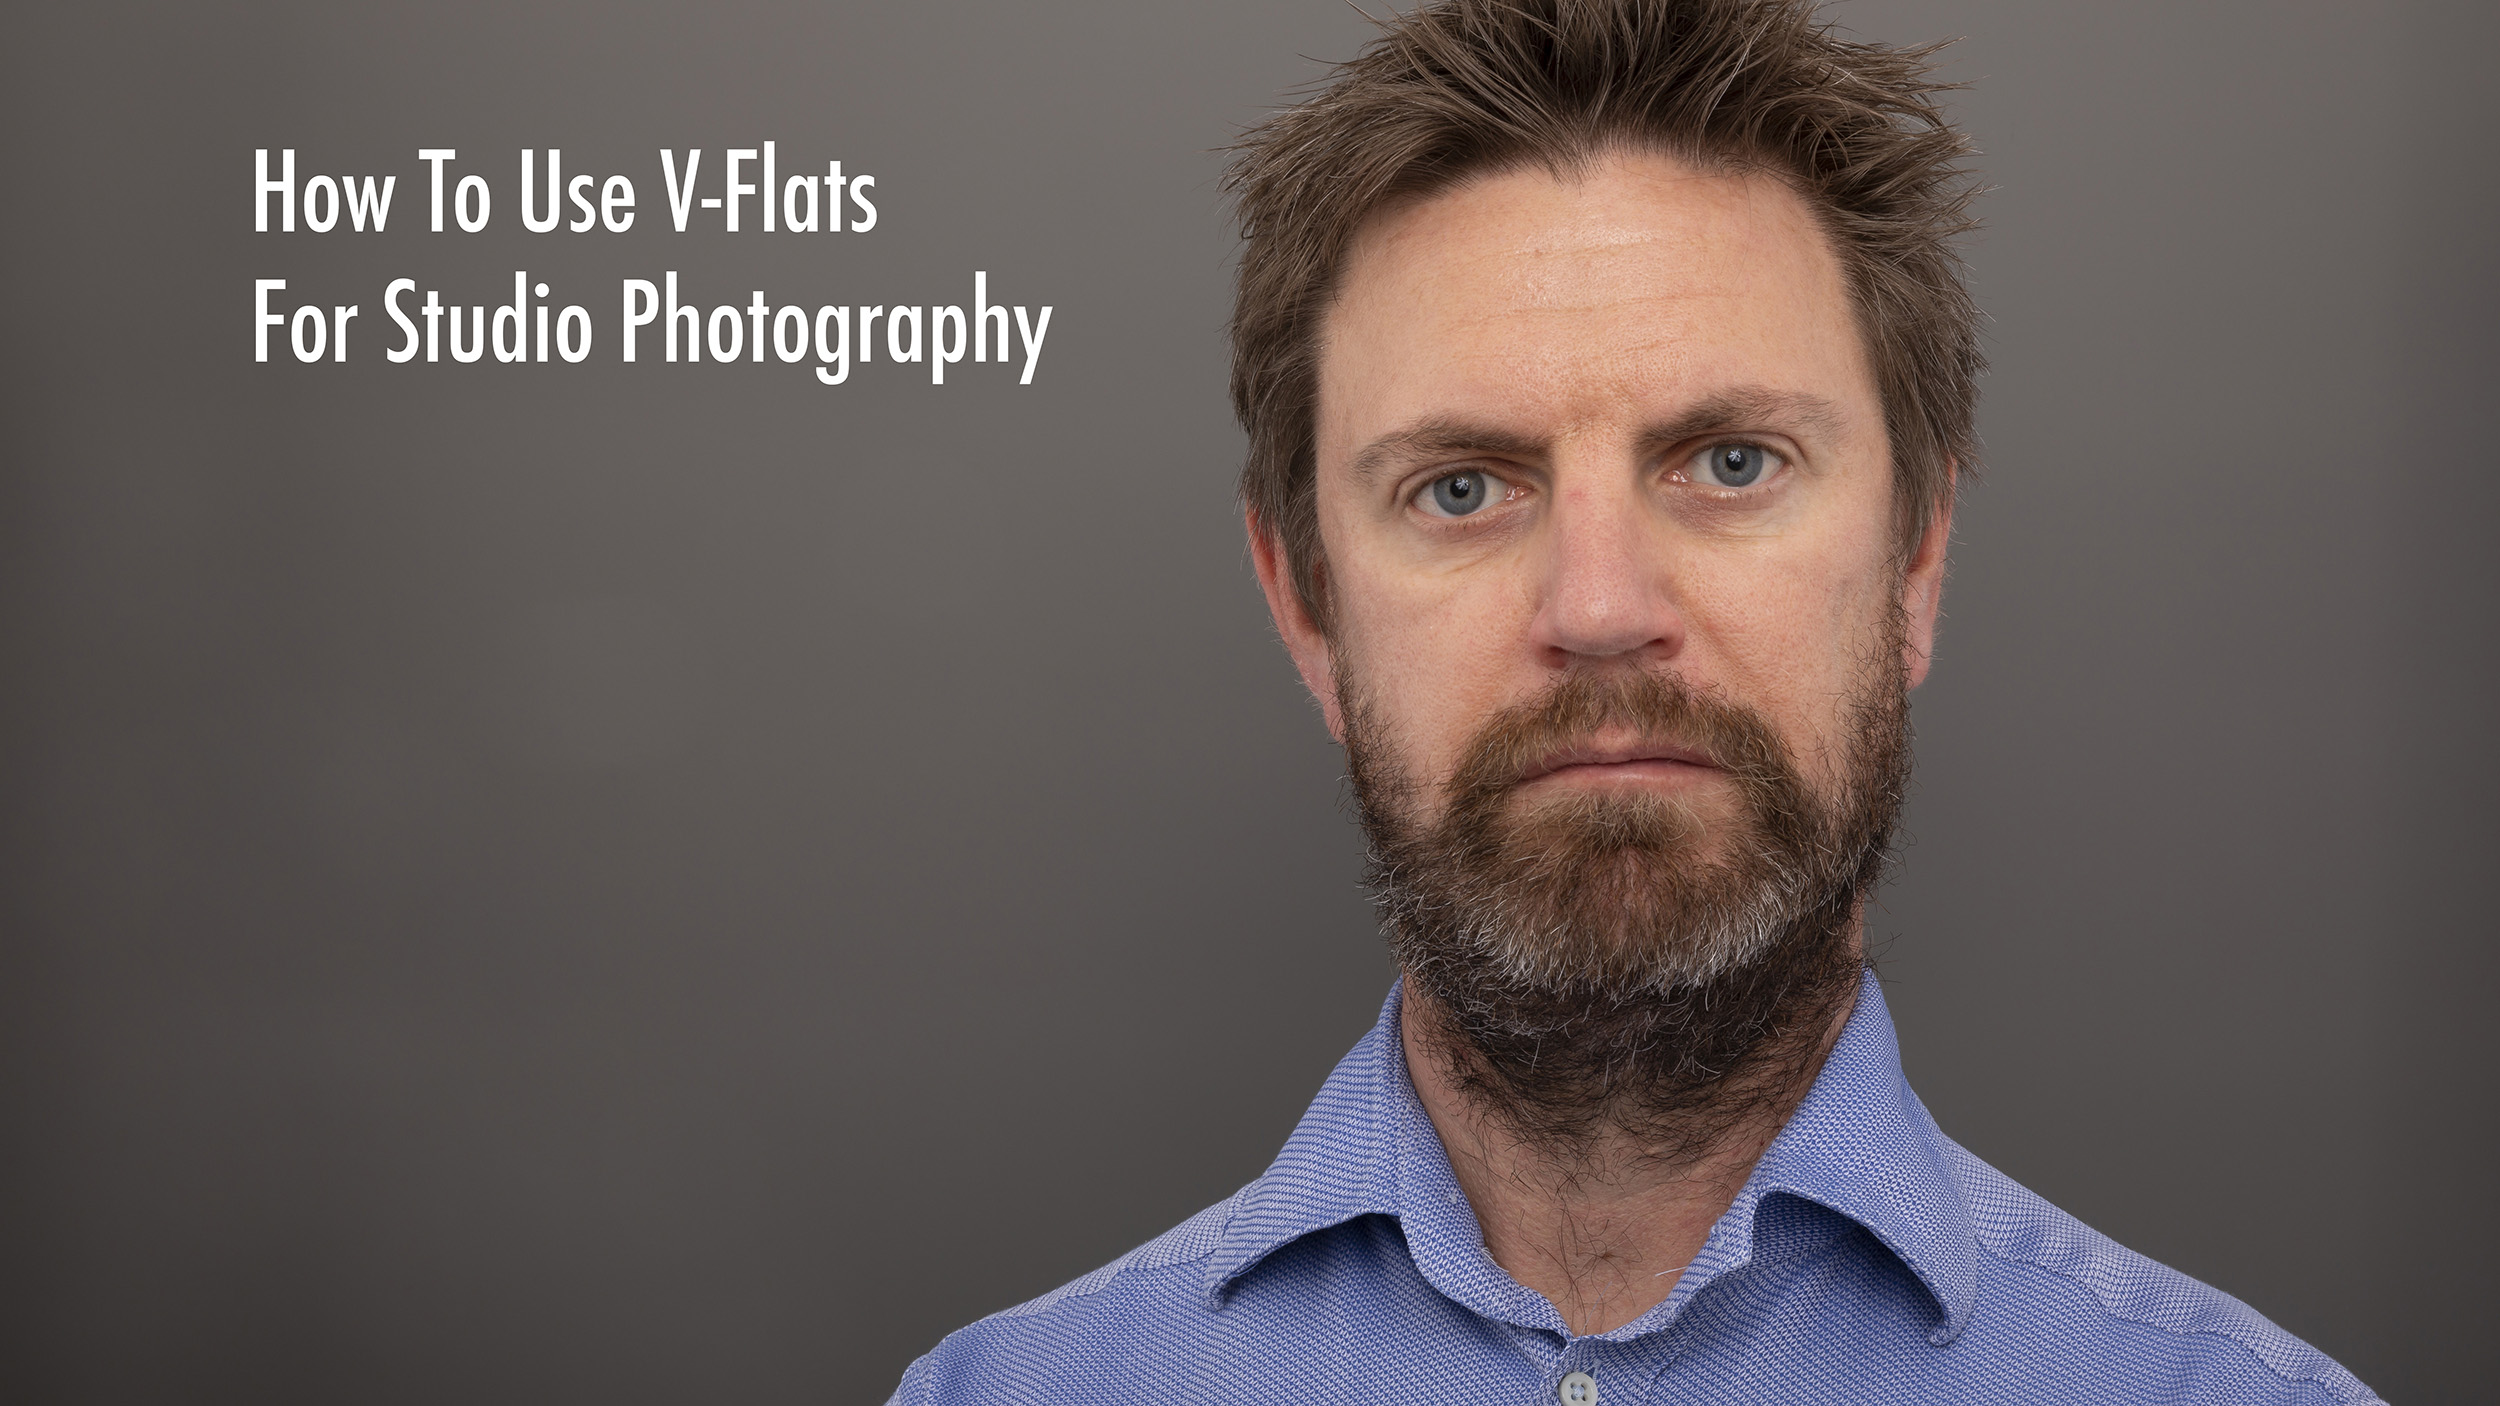

My latest YouTube vlog shows you how to use V-flats for studio photography. It shows you four different ways you can use this inexpensive light modifier to get portrait images in the studio.
Although not filmed in a proper photography studio, you can see that you can still create imagery at home using basic equipment that doesn’t cost a huge amount of money.
Apart from the V-flats, the other pieces of gear are as follows:
Godox AD300 Pro: https://geni.us/u60vUi7
Godox 260T Air-Cushioned Light Stand
Manfrotto 1314B Backdrop holder
Manfrotto 1051BAC Air-Cushioned Light Stand: https://geni.us/76S33q
Westcott 45″ Optical White Satin Umbrella: https://geni.us/cyhW
Lencarta Grey Background
My YouTube channel is dedicated to all things landscape and travel photography, so if that’s your thing, then I’d love to have you come along for the ride.
Throughout the year, I offer photography tours and workshops in a variety of destinations around the world. If you’re interested in learning more from me to help you get the best out of your photography, then get in touch.
This shoot was about keeping things basic. I was working at home on a rainy day, so the goal was not to build a polished studio set. I wanted to show how much I could do with a few pieces of gear and a bit of control over the light.
The key item was the pair of homemade V-flats behind me. Because they have both white and black sides, I could either reflect the flash back onto myself or absorb stray light to create a stronger shadow. That one change, white or black, completely altered the feel of the portrait.
The rest of the setup was straightforward:
I also used a black V-flat to block some window light. During my test shots, I could see too much daylight creeping in, so I cut that down before starting properly.
This is the quickest way to see what changed from one setup to the next:
| Setup | Flash direction | V-flat side | Look I got |
|---|---|---|---|
| High-key portrait | Into the white panel | White | Bright, open, clean light |
| Head-height bounce | Up into the white panel | White | Soft, flattering fall-off |
| Wrap-around fill | Into the umbrella between panels | White | Minimal shadow, lots of detail |
| Dramatic portrait | Along the panel line | Black | Deep shadow, more edge |
White surfaces bounce and fill. Black surfaces absorb and shape. That is the main idea behind every setup I used here.
The first look I wanted was a clean, high-key portrait. For that, I pointed the flash directly into the white side of a V-flat. Because the panel is white, it acted like a big reflective surface and threw the light back towards me. That immediately gave me a broader, softer source than pointing the flash straight at my face.
I kept a black V-flat off to one side to block the window light. That small adjustment mattered more than it might sound. Daylight can flatten a scene in the wrong way when I am trying to judge flash output, and in this case, I wanted the bounced flash to do the work on its own.
Since I was shooting alone, I had to be both photographer and model. The camera sat ready, and the Godox trigger let me fire the flash without needing an assistant. I stood facing the camera directly, because this setup suits a simple, front-on portrait. It is the kind of light that smooths things out and gives a bright, open feel across the face.
I started by checking the setup and then pushed the AD300 harder to get the panel glowing properly. Once the white surface was lit well, it sent a broad wash of light back onto me. The result was a portrait with very little drama, which was exactly the point. It felt clean, tidy, and forgiving.
What I like about this first setup is how little it asks of the room. I was not in a polished studio, and it still worked. If the panel is placed well and the ambient light is under control, the v-flat does most of the heavy lifting.
For the second setup, I stayed with the white side of the V-flat, but I changed the way the light hit it. This time, the flash sat on an air-cushioned stand, a little above head height, and pointed upwards into the panel rather than straight across at it. The camera remained in front of me, and I stood square to the lens.
That change in angle made the light feel more shaped. Instead of a simple frontal bounce, the panel became a larger source with a gentler spread. The flash lit the V-flat, and the V-flat lit me. When that surface is large and bright, the light reaching the face becomes far more flattering than a bare flash would be on its own.
The air-cushioned stand was useful here because I was adjusting things by myself. If I loosened it too quickly, it did not drop suddenly. That is not a glamorous detail, but it makes working alone much easier.
This setup also made it easier to see what happens when I move the flash closer to or farther from the panel. I mentioned the cone effect in the video because that spread matters. When the flash sits very close to the v-flat, the beam hits a smaller area and feels harsher. When I pull the flash back, the light spreads across more of the panel, and the return light becomes broader and smoother.
I pushed the AD300 to full power here so the panel had enough punch to light me well after the bounce. Once the whole surface was glowing, the light wrapped across my face with a softer fall-off than I had in the first setup.
This is the kind of portrait light I would normally prefer to use on a proper subject rather than on myself. It is flattering, calm, and easy on the skin. Even so, using myself as the model was enough to show what the v-flat was doing. The main point was clear: the panel was not only bouncing light, but it was also changing the character of that light.
The third setup was about filling everything in. I placed myself in front of a grey background and surrounded the space with white surfaces. There was a white V-flat on each side, and I added an umbrella with the Godox flash so the light could spread through the area and bounce back from multiple directions.
Once that flash fired, the whole setup started working together. The umbrella pushed light into the space, the white panels reflected it back, and the shadows on my face softened quickly. Compared with the earlier portraits, this one was much more about coverage than shape.
That is the strength of white V-flats in a small space. They not only bounce light from one side. They keep it moving. Instead of losing the flash after one hit, the room starts to hold onto it and send it back into the subject.
Distance changed everything here. I took one shot with the V-flats a bit farther away, and then I moved them in closer to me. The second frame had more fill because more of the light struck the panels and bounced back before it could disappear into the room.
The sequence was simple:
The difference showed up in the shadows. In the first frame, one side of my face still held a bit of shape. After moving the V-flats closer, much more of that shadow filled in. The portrait became flatter, but in a useful way. More detail came through, and the whole face looked evenly lit.
That makes this setup a good option when I want detail without harsh contrast. It is also a practical reminder that the v-flat itself is only part of the picture. Where I place it matters as much as which side I use. A white panel at the edge of the room does much less than a white panel brought in close.
Working alone made this harder to judge in the moment, because I had to keep stepping back, checking, and adjusting. Still, the principle was obvious. The closer the reflective surfaces came to me, the more they filled the shadows.
The last setup flipped the idea on its head. Instead of using the white sides to send light back at me, I turned the V-flats around and used the black sides to absorb it. That gave me a much moodier portrait with stronger contrast across the face.
I placed the flash behind one V-flat and aimed it along the line of the panel. That meant the light skimmed across the side of my face rather than filling me from the front. On the opposite side, the black panel soaked up the spill. Rather than softening the shadow, it helped deepen it.
This is where black V-flats become more than simple blockers. They are not passive. They remove unwanted bounce from the scene, and that gives the lit side of the face more separation and a cleaner shape.
Because I was at home, I had to fight the room a bit more in this setup. I blocked as much stray light as I could, but there was still a white cabinet behind the background that reflected some light back into the scene. In a proper studio, I could control that more easily. At home, I worked around it.
I also dropped the flash power right down to 1/32. If I had used too much light, the shadow side would have opened up too far, and the mood would have gone. At that lower setting, I could keep a subtle highlight on one side of my face without losing the dark side altogether.
The final portrait had a more edgy feel than the others. One side was softly illuminated, while the other fell into a deeper shadow. It was not perfect, because the room still had some reflective surfaces I could not fully remove, but the result made the point well. White v-flats open light up. Black v-flats strip it back.
What I enjoyed most here was how much range I got from one cheap, simple modifier. I did not need a big studio, and I did not need a pile of lights. With one flash and a pair of panels, I could move from bright and open to dark and shaped without changing the whole room.
That mattered to me because most people know me for travel and outdoor work. Portraiture is a different part of photography, and I am still pushing myself to understand it better. Days like this help, especially when the rain makes heading outside less appealing. They also feed back into the rest of my work, because light is still light, whether I am in a room at home or out on location. For anyone who follows my travel side, that part of my work still sits at the heart of what I do through my Photography Tours & Workshops.
Shooting solo also forced me to slow down. I had to watch every test frame, adjust one thing at a time, and pay attention to small changes in placement. That pace is useful. It makes the effect of each move easier to see.
This session confirmed something simple. V-flats are one of the most flexible tools I can keep around for indoor portraits, especially when I am working at home with limited kit.
The white side helped me build soft, broad, flattering light. The black side gave me shape, mood, and a stronger contrast. Between those two surfaces, I could create four distinct looks without turning the room into a full studio.
That is why I keep coming back to them. They are inexpensive, easy to move, and they make small lighting changes easy to see.