
How to get a good white balance for landscape photography is my latest YouTube vlog detailing some of my exploits as I travel to various parts of the world.
As soon as we click the shutter on our cameras, white balance will always be applied. Digital cameras give us the edge over film cameras as we can immediately see the effect it is having on our images.
In the days of film, landscape photographers gravitated towards the rich colours of Fuji Velvia, but unless they used warm-up or cooling-down filters then they were stuck with a daylight balance of around 5500 K.
The raw images from our digital cameras allow us to correct any colour cast that may have appeared through the use of software such as Lightroom or Adobe’s Camera Raw. The temperature and tint sliders used in conjunction with the histogram and Tone Curve can help us to quickly remove any cast. This is especially useful if you’ve left your camera on Daylight balance and shoot indoors, where the image will take on an obvious colour cast.
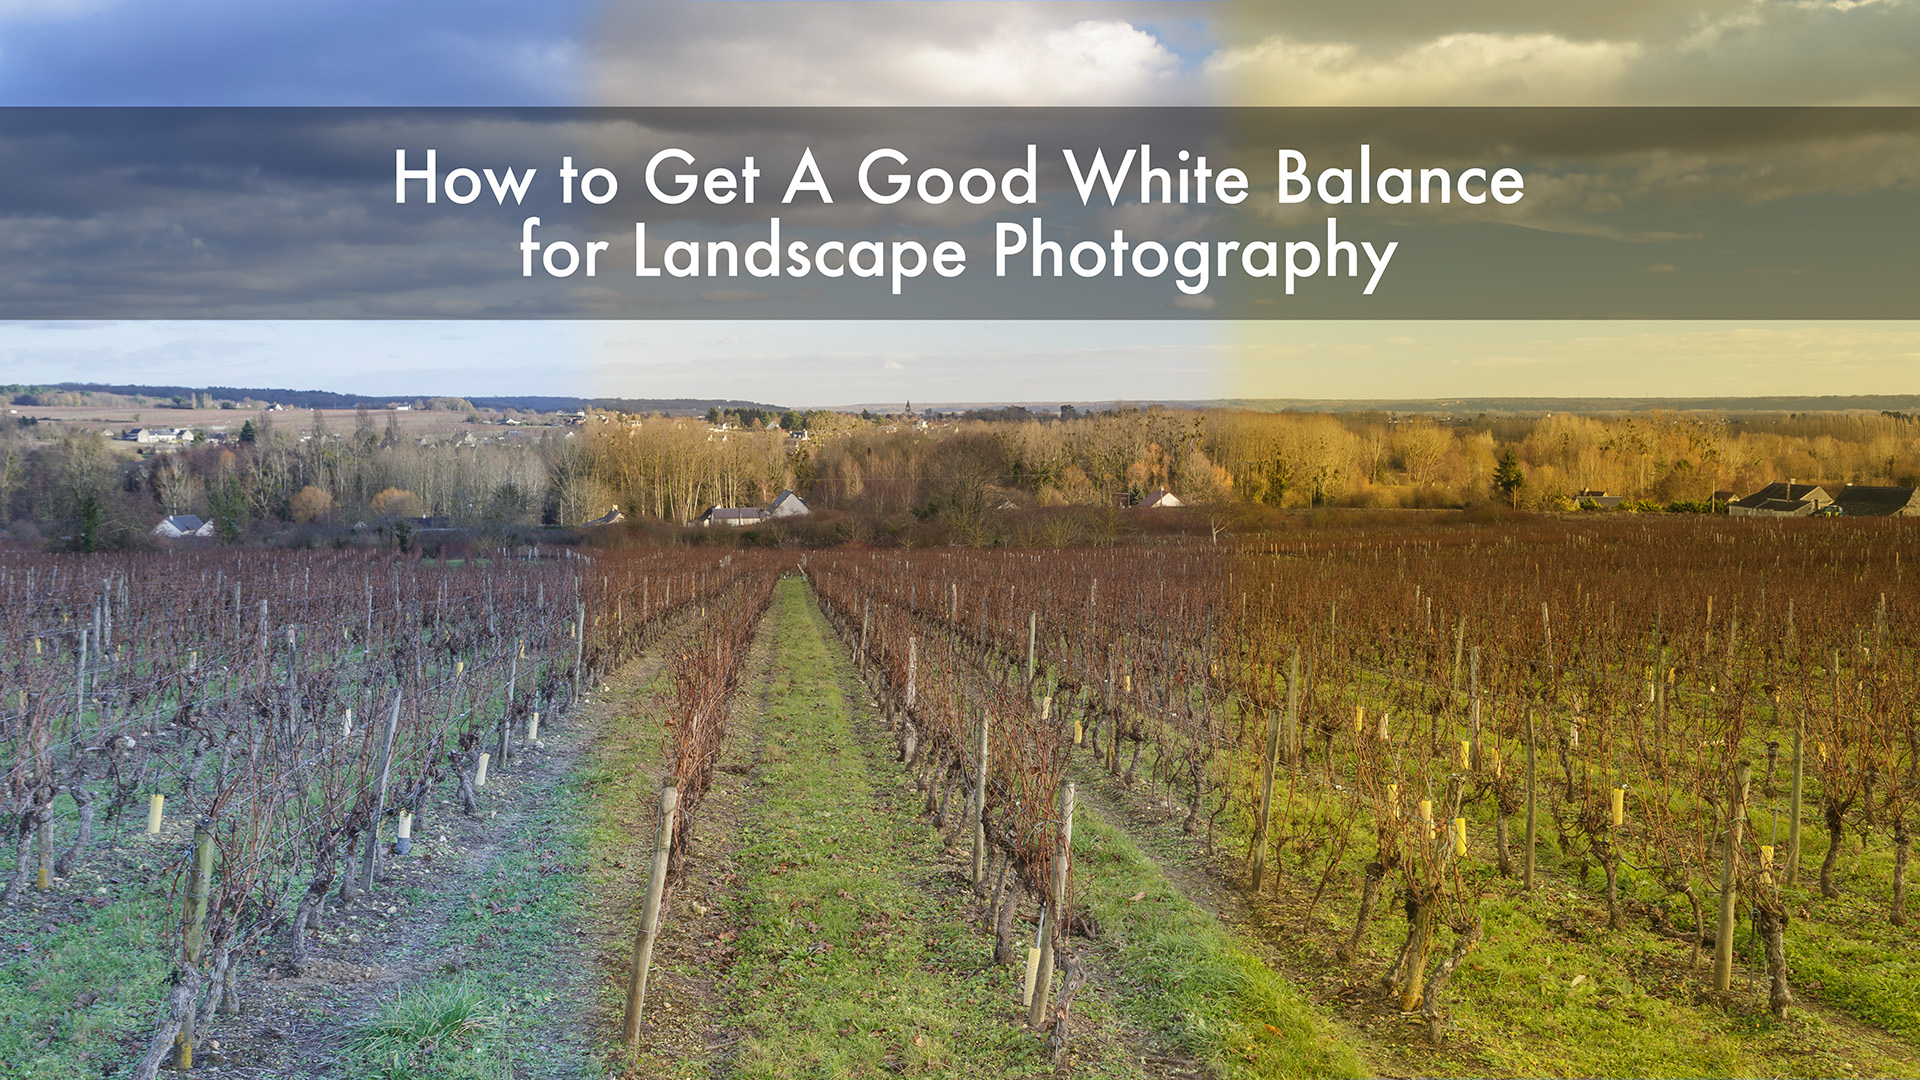
My latest tutorial will help guide you through some of the principles of getting a good white balance in your images. Right from the field to the post-production side of things.
As with any tutorial on Adobe Lightroom, it must always be noted that this is of several ways in which you can do things. That is no way is the right way, and that creativity can also come into it. It may be that you colour correct an image only to find that the image looks too cold, so you might then wish to “warm up” the image in question.
But that is the beauty of our creativity and mind’s eye.