 Skip to content
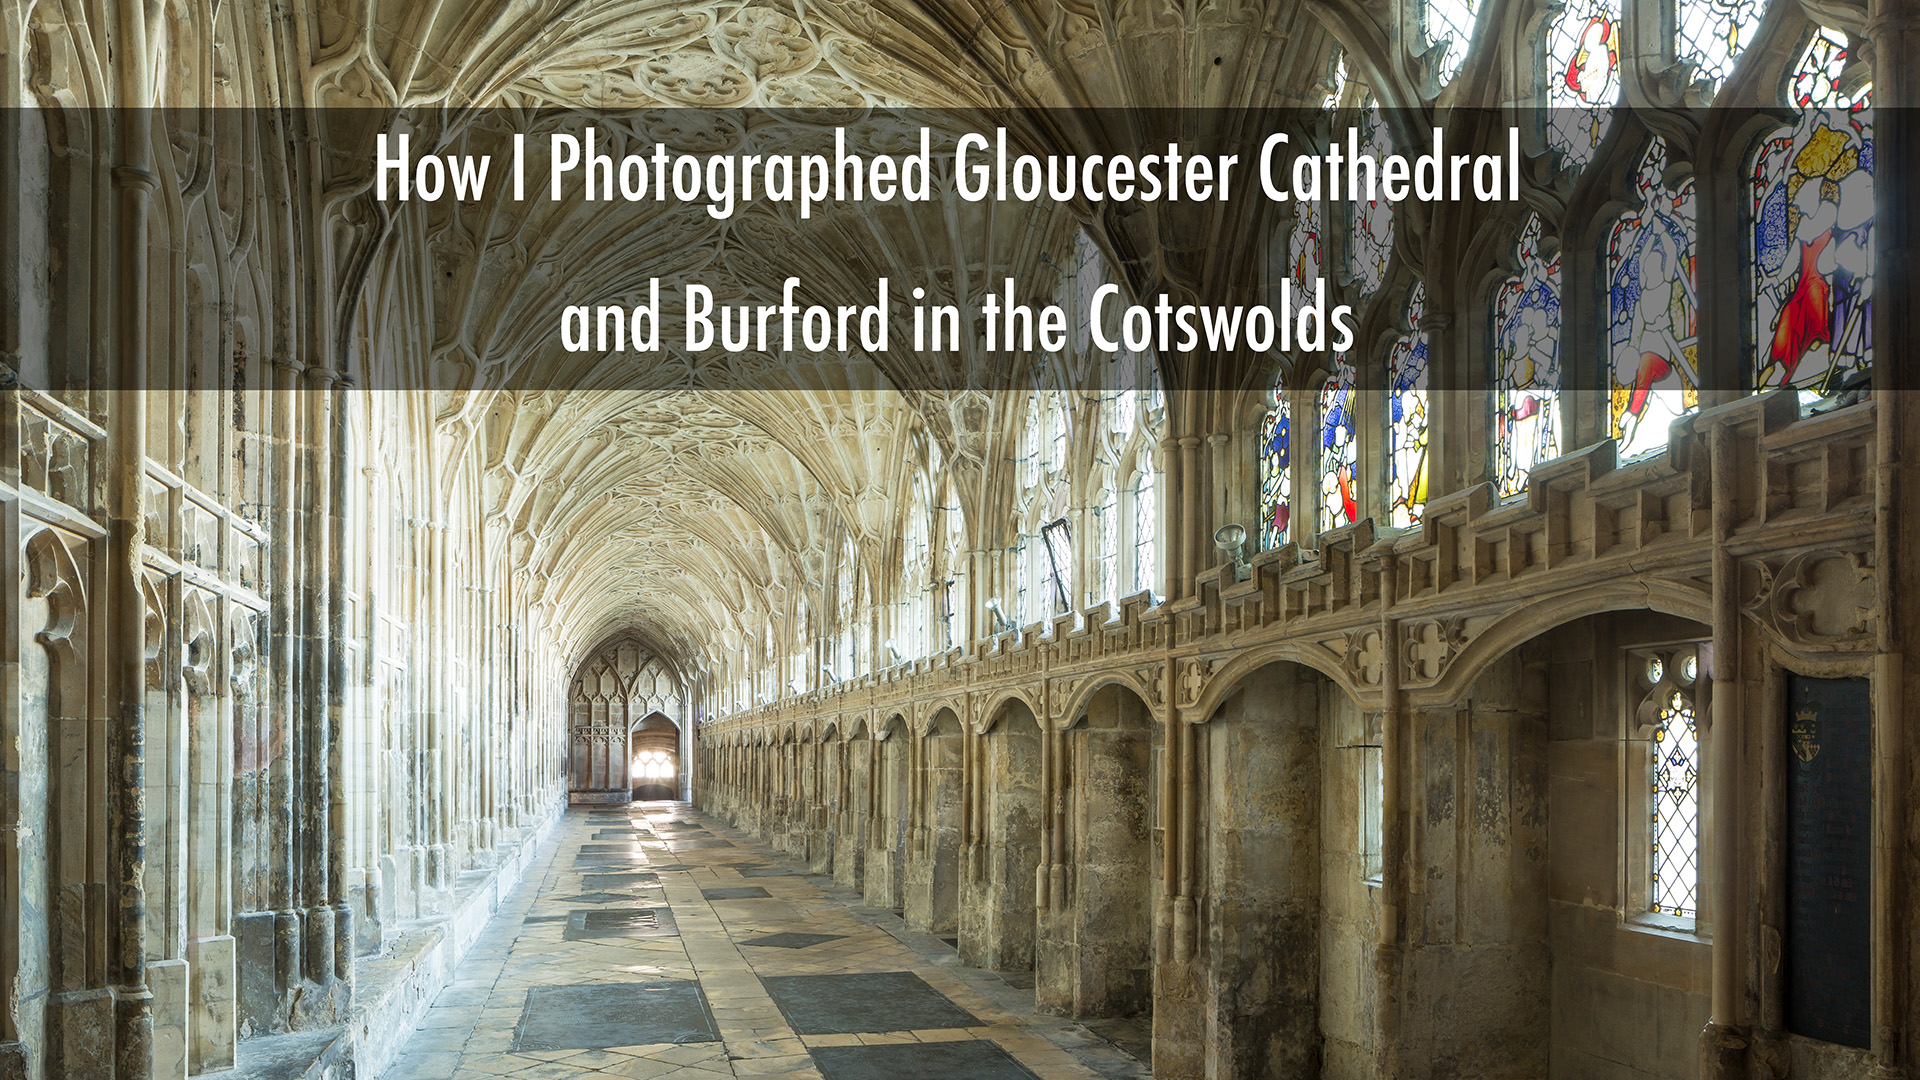

Check out how I photographed Gloucester Cathedral.
Gloucester is home to a beautiful Gothic cathedral, and luckily for me, they let me both film and photograph inside the building.
If you’re a fan of Harry Potter, you should recognise the cloisters from the 1st, 2nd and 6th films.
First thing in the morning, I stopped off at Burford as I wanted to do a recce of the water meadows for a future date.
Join me as I try to capture in the best way that I can the magnificent and beautiful architecture of Gloucester Cathedral.
Throughout the year, I offer photography tours and workshops in a variety of destinations around the world. If you’re interested in learning more from me to help you get the best out of your photography, then get in touch.
And do check out my portfolio of Gothic cathedrals across England as well as the dedicated page to Gloucester Cathedral.
I started the morning on the water meadows of the River Windrush, just outside Burford. Behind me sat that classic Cotswold scene, the little church spire rising above the town, the river bending through the foreground, and the sort of view that makes you stop even when you are on the way somewhere else.
I had never photographed it before, so I wanted to give it a try. Even when I know the main destination will carry the day, I still like to work a location honestly. Burford has that quiet Cotswolds charm that can look effortless in a photograph, but scenes like this are often more awkward than they seem. The bones of the image were there, yet I had to find out where the composition really lived.
What pulled me in was the meander in the river. It gave the scene movement and a line for the eye to follow towards the church. That curve was the reason I stayed with the view, even after wandering around for alternatives.
Sometimes a location doesn’t give me a finished image. It gives me something nearly as valuable, the knowledge of where to stand when the light is right.
That turned out to be the case here.
After walking around, I came back to my original position. The river bend still felt like the strongest part of the scene, so I worked around that rather than forcing a new angle.
My first thought was to use my shift lens with the extender and include the reeds low in the frame. I wanted those reeds to anchor the foreground and then let the river carry the eye up towards the church spire. On paper, it made sense. In practice, the composition had a weakness. There was too much negative space in the middle of the frame, and it kept bothering me.
So I changed my approach. I put the Canon 28-70mm on the camera and zoomed in. That simple switch solved more than one issue. It tightened the composition, reduced the empty space, and let me crop the lower part of the scene in a way that felt more balanced. I also made sure I wasn’t chopping the bottom of the spire in an awkward way.
That small adjustment gave me a frame I liked far more. It also gave me something useful for the future. I now know exactly where I want to stand when I return, and I know which lens is likely to work best. Sometimes the best result from a quick stop is not a perfect photograph, but a clearer plan for the next visit.
The biggest problem at Burford was the direction of the light. At dawn, I was looking straight towards the brightest part of the sky, and that made the contrast hard to manage. Even with graduated filters in place, the sky still held too much brightness compared with the land.
I felt I had something usable, but I also knew the conditions were not ideal. Then the cloud started to build, which added another layer of frustration. The forecast had suggested a nicer morning, yet the scene began to flatten rather than improve.
At that point, there was no sense forcing it. I packed up, had one last wander to see if anything else caught my eye, and then headed off to Gloucester for my appointment at the cathedral.
Gloucester Cathedral was the main reason for the trip, and I arrived feeling grateful before I had even unpacked the camera. I had been permitted to photograph inside the building, including access to some areas that are not part of an ordinary visit. That was a real privilege, and I was thankful to Gloucester Cathedral for accommodating me at short notice.
My first impression was the sheer scale of the place. Behind me was the nave, and beyond that sat the choir with its huge stained glass window. It is one of those interiors that makes you slow down at once, because every surface seems to offer a line, a pattern, or a patch of light worth studying.
Off to one side were the cloisters, which many people know from the Harry Potter films. Fans will recognise them from the first, second and sixth films. Even before I began photographing properly, I could see why they were chosen. The stonework has that mix of grandeur and atmosphere that works on screen and in still images.
I began with the nave. For that shot, I wanted a centred composition with some framing on either side. The chairs sat down the middle, and I used parts of the columns on both sides to round the image and stop it from feeling too open. It was a familiar architectural setup for me, but one that suited a space like this.
Technically, I kept things fairly simple. I used a Canon 6D with a 1.4x extender and a Canon 24mm TS-E Mark II. The tilt shift lens helped me keep everything upright, which matters in a building like this, where even a slight lean can spoil the sense of structure.
That first image was only a starting point. I had also been allowed to go up near the organ, which meant I could photograph back down the nave from a higher position and also look into the choir towards that huge stained glass window. Access like that changes what is possible, because it gives me angles that visitors do not usually get.
Some buildings fight the camera. Gloucester Cathedral didn’t. The architecture is rich, but it is also clear. The lines make sense. The spaces connect well. Every arch leads to another arch, every shadow has form, and the detail holds together even when the scale becomes overwhelming.
That matters when I am photographing a cathedral, because the challenge is not only to show how grand it is. I also want to show how the eye moves through it. A successful image has to do more than record stone and glass. It has to carry the viewer through the frame in the same way the building carries me through the space.
The cloisters were the part I most wanted to photograph, and they did not disappoint. The moment I walked into them, I knew they would need time. Good architecture asks for patience, and these cloisters offered several different ways to approach the same space.
The light helped me as well. One side of the cloister had a lovely soft quality to it, and that gave the stone enough shape without turning the contrast harsh. In a place so full of repeating arches and carved detail, gentle light is often better than dramatic light.
One of my first ideas was the simplest: to shoot straight down the cloister and let the architecture do the work. There is something powerful about symmetry and repetition when the subject deserves it, and Gloucester Cathedral certainly does.
I have photographed cloisters before by working from a corner and looking in both directions, because that can give a stronger sense of depth. Here, though, the straight-on view had its own pull. It let the arches stack into each other and gave the frame a calm rhythm.
The entrance view had already struck me when I first arrived that morning. Even before I set the tripod down, I knew I wanted to spend time there.
One detail stood out straight away. Along that run of the cloister, one window contained stained glass while the others did not. That single panel changed the balance of the scene and gave me a point of difference in an area built on repetition.
To make the composition work, I placed the doorway at the end of the lower third of the frame and then made sure the architectural lines all led towards it. The arches, ceiling ribs and floor all pulled the eye into the image. When everything aligns in a corridor like that, the frame begins to feel inevitable.
The exposure was the harder part. The back window was too bright for the camera to hold in one frame, so I had to shoot several exposures for an HDR blend later in Photoshop or Lightroom. That is one of those times when the technique is simply necessary. The scene had more range than the sensor could capture cleanly in a single shot.
After that, I moved into the corner to try a wider treatment of the cloister. I pushed the DSLR as far into the corner as I could to gain every bit of field of view possible. The goal was a panorama that would show both directions and make the most of the space.
For that setup, I used the 24mm TS-E again, but this time I shifted left to right rather than up and down. I also added a little front tilt because the camera had to angle upwards slightly, and I wanted to bring the perspective back under control.
That sort of frame takes trust. On location, I can only do so much through the camera screen. The real test comes later on a large monitor when I can see whether the files stitch together cleanly and whether the perspective feels right. So there was a bit of patience involved, but the setup looked promising in the field.
In architecture, patience often matters more than speed. A careful panorama can give a space the room it deserves.
Although the locations were very different, the camera kit stayed fairly focused. I needed control more than variety, especially inside the cathedral, where perspective and exposure mattered so much.
The main gear I used on the day was:
Each piece had a clear job. The 28-70mm helped at Burford when I needed to tighten the composition and reduce empty space. The 24mm TS-E was the key lens inside Gloucester Cathedral because it let me keep verticals straight and build more careful frames. The filters helped with the contrast outside, even though the dawn light still pushed them. Meanwhile, the tripod and geared head gave me the precision I needed for architecture, HDR work and the cloister panorama.
Gear never makes the picture on its own, but on a day like this, it certainly helps remove obstacles.
By the end of the day, I felt I had photographed two very different subjects in two very different moods. Burford gave me a gentle Cotswold scene with difficult light and a useful lesson in composition. Gloucester Cathedral gave me scale, history and some of the finest Gothic detail I could hope to work with.
I left with a strong sense of gratitude. The cathedral was generous with its access, and that made the whole visit possible. I was also reminded how astonishing these buildings are when you stop and think about when they were built, and what was achieved without modern machinery.
I am grateful as well to everyone who follows the work, subscribes, and takes the time to comment. Support like that keeps days like this moving forward, and it means a lot.
If you ever pass through Gloucester, make time for the cathedral. For a photographer, Gloucester Cathedral is far more than a famous building. It is a place full of lines, light and atmosphere, and it stays with you long after you leave.
We noticed you're visiting from United Kingdom (UK). We've updated our prices to Pound sterling for your shopping convenience. Use Euro instead. Dismiss